

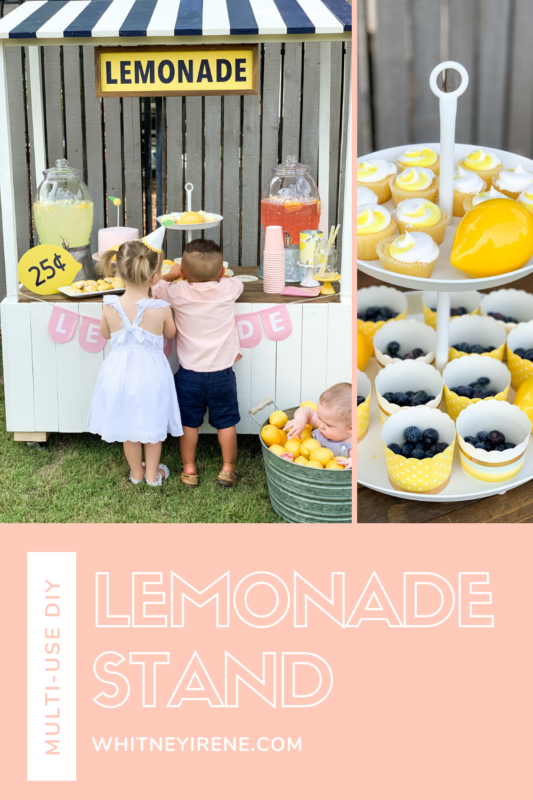
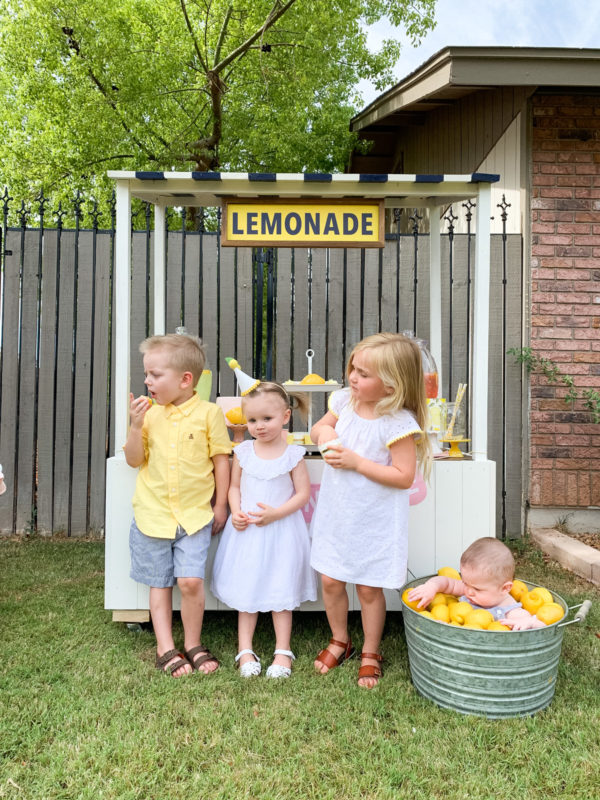
If you’re a mamarazzi like me you’ve likely daydreamed of taking cute pics of your kiddos at a lemonade stand. I tried to buy a DIY Lemonade Stand at a garage sale last year but it turns out the darling daughter of the garage sale host was setting it up to sell lemonade, it’s been on my mind ever since.
Building a Darling Multi-Use DIY Lemonade Stand
So I did what anyone would do, headed to pinterest for some cute ideas on how I could build my own darling multi-use DIY Lemonade Stand! I stumbled upon this adorable lemonade stand made by Cara at Honey And Hive Living.
Once I saw her stand the ideas of cute different ways I could style something like this began flooding my mind. I knew I had to build something just like it (read: I knew I had to convince my hubby to build something just like it)
My hubs spent almost all of his free time during quarantine working on projects like transforming our son’s room into a big boy room with the ultimate house bed, to painting baby #3’s nursery and more. So I thought I’d take a stab at learning how to use his tools and make this stand myself. Lucky for me my very patient (and handsome) teacher not only showed me the ropes but helped every step of the way and did most of the work. He’s the best!
Where We Started
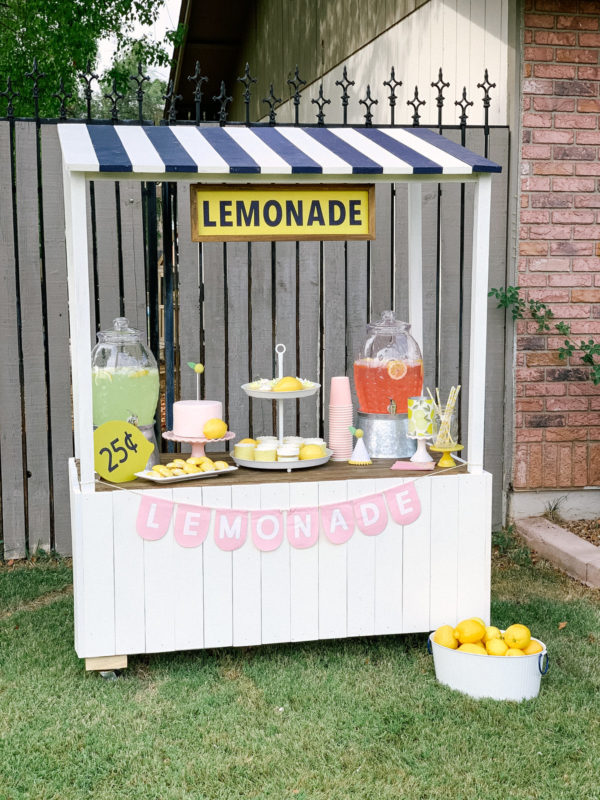
We started with the plans for this base however we began to cross-reference it with these plans and made our own adjustments along the way based on the wood we had, any cuts we had already made etc. We made our own tweaks to both of these plans. One of the main tweaks we both made was the roof, I personally think this just makes the lemonade stand pop!
When it came to the legs, the angle of the roof and then having two legs be longer to account for the other two being on wheels there was something off on the first set of plans we tried to follow, that’s when Taylor found these plans which helped us work that out.
We used scrap wood wherever we could – for the countertop, roof, and sign especially!

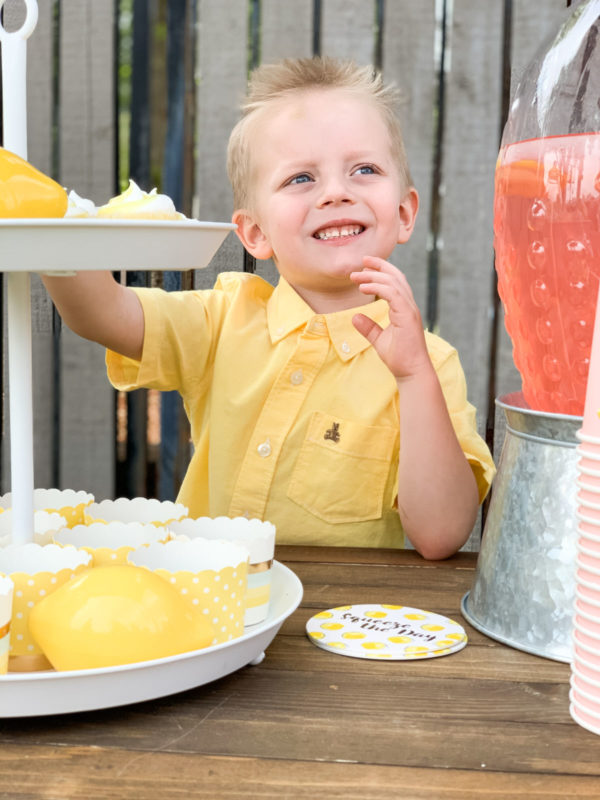
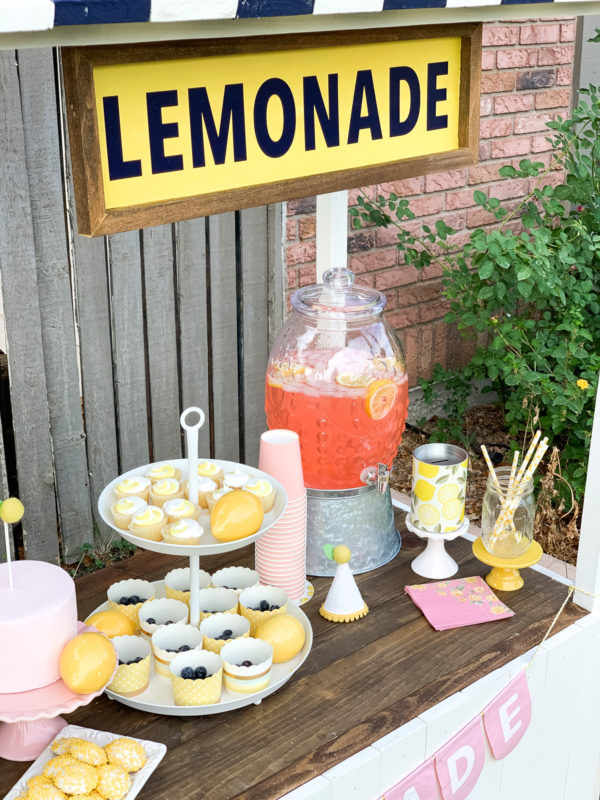
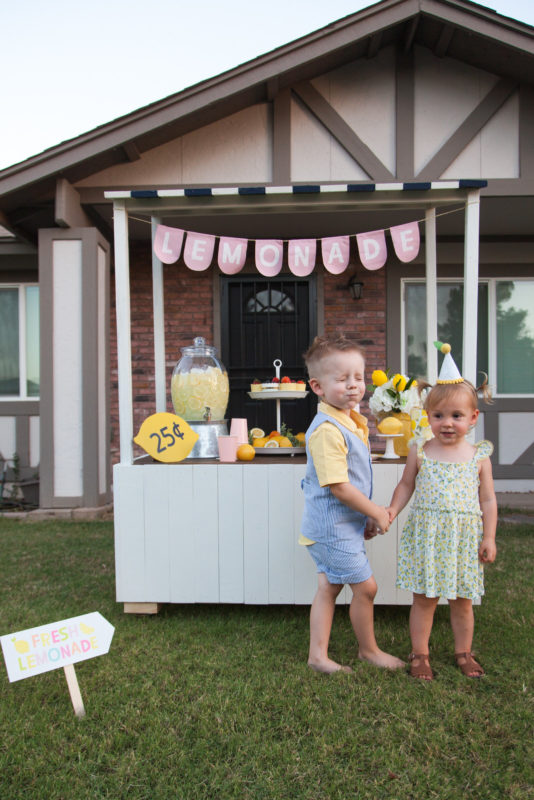
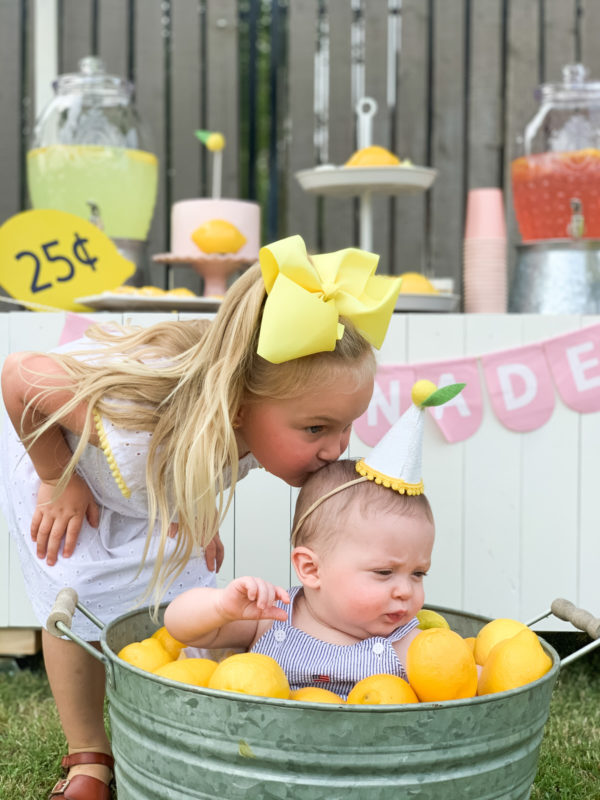
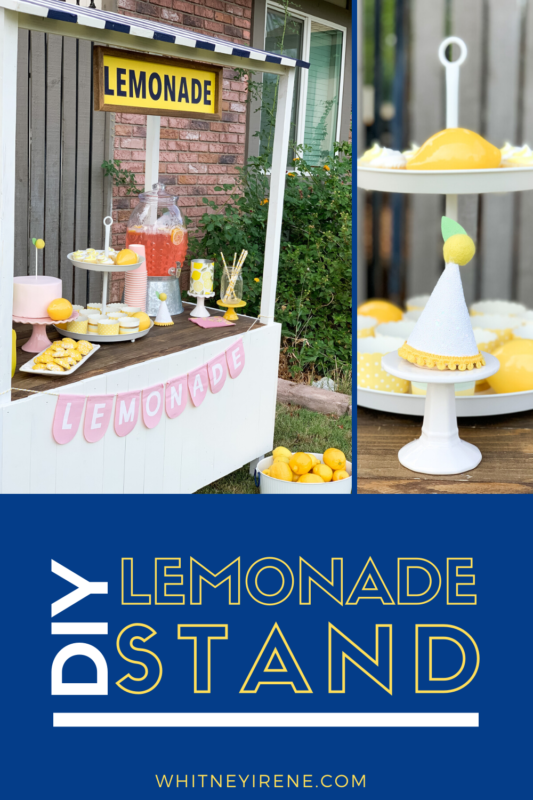
For the sign (I love how Honey & Hive Living does her signs so be sure to check those out) I used my Cricut Maker to cut the wording in navy vinyl, I used some yellow paint I had laying around to paint the background and scrap wood for the frame. We didn’t have hook and eyes on hand so we hid two screws under the frame of the roof to hang our signs from (we did use two hooks on the sign itself)
Tools Used:
- Measuring tape
- Miter saw
- Circular saw
- Drill
- Kreg pocket hole jig + kreg drill bit
- Nail Gun
- Sander
- Paint brushes
Supplies:
- White paint + primer ( we used some leftover Behr Paint/Primer we had laying around)
- Navy paint (A sample size was the perfect amount)
- Stain
- Wood Glue
- Kreg jig screws
- Caster wheels (2)
- Safety glasses and gloves
- Wood *
* We chose to use 14, 28″ pieces of 1×4 lumber for the roof instead of the roof selection from the previously mentioned plans. For the countertop we used scrap wood as it was already stained – 10, 48″ pieces of 1×3 lumber.
What I Learned
Some important takeaways I learned while taking on this project (with much help) – make sure you are checking your wood when buying it. I assumed all boards were straight and relatively smooth (hey, I’m a former pageant girl not a carpenter) however that’s not the case. A wonky warped board can really mess things up for you, and the more splintery and damaged the board the more sanding you’ll need to do to make it smooth for little hands!
Such a dad thing to say but “measure twice cut once”
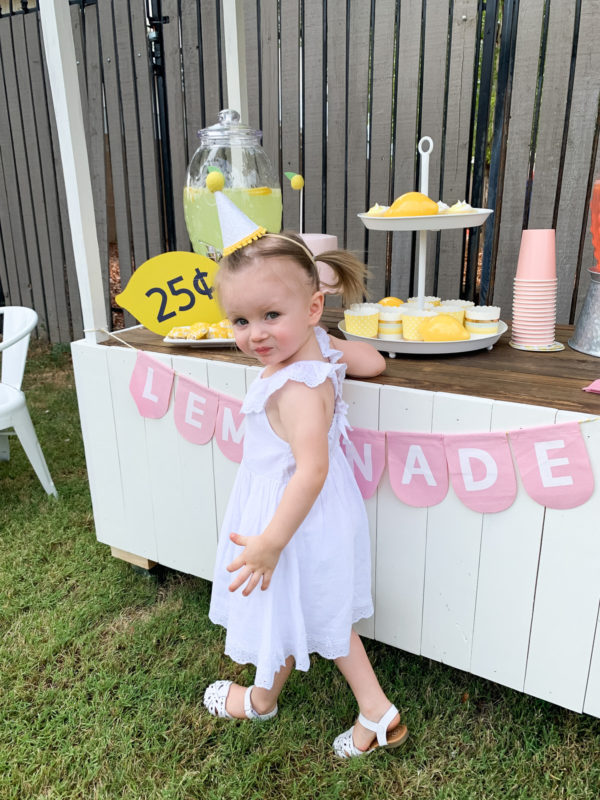
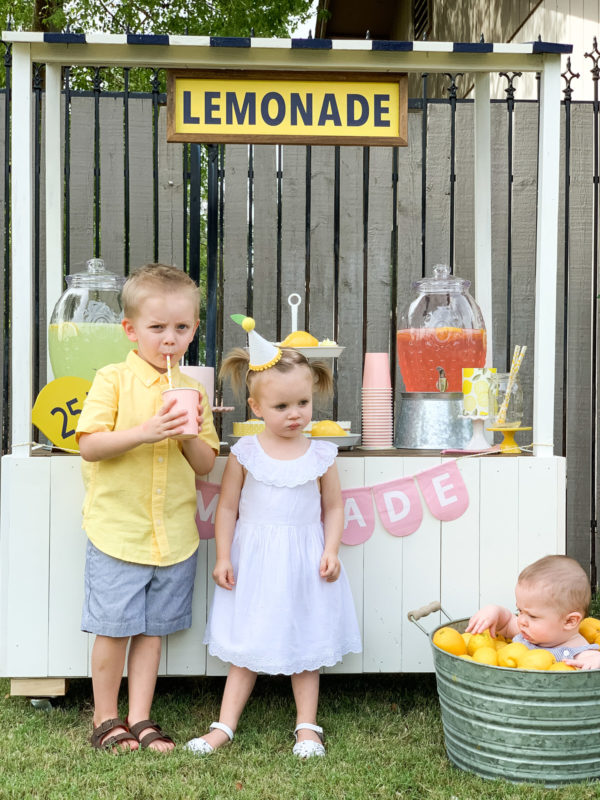
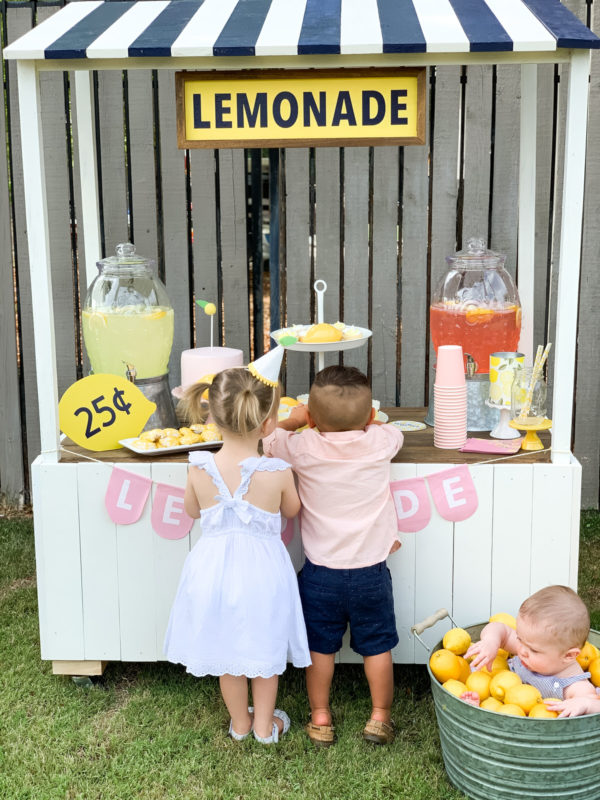
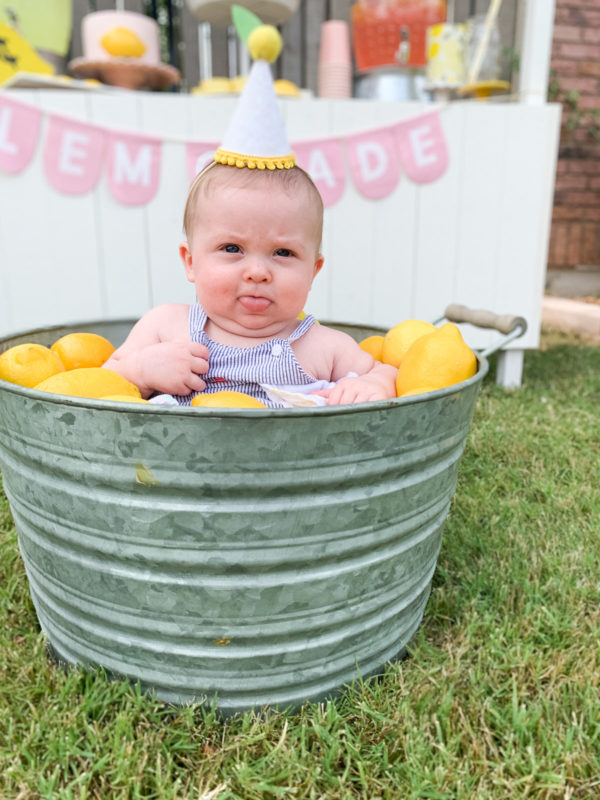
Squeeze the day
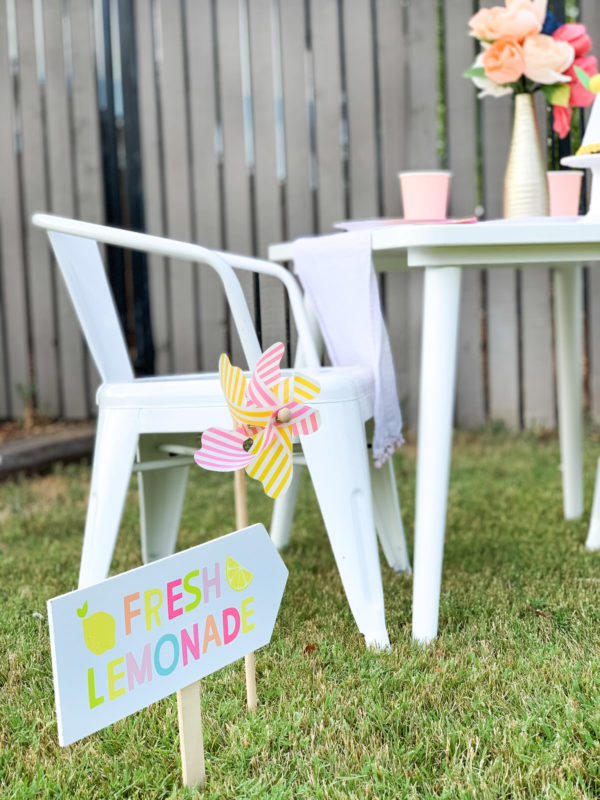
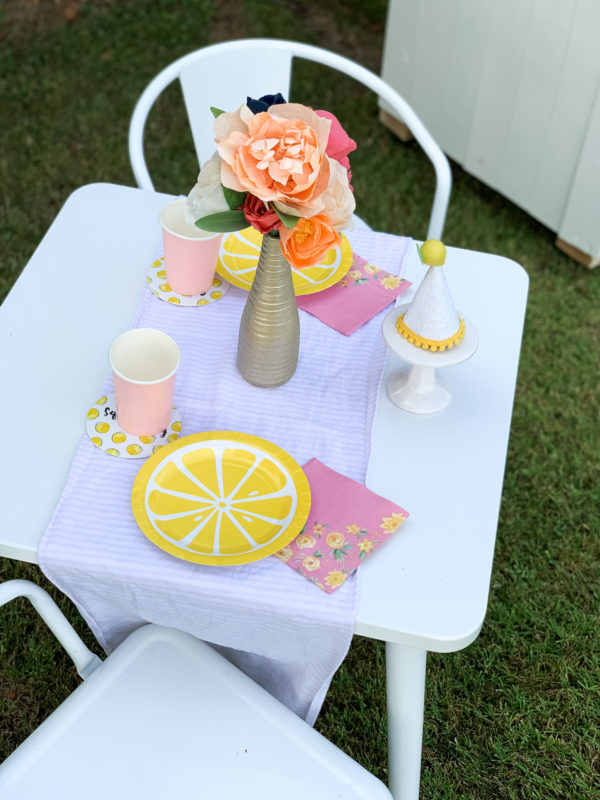
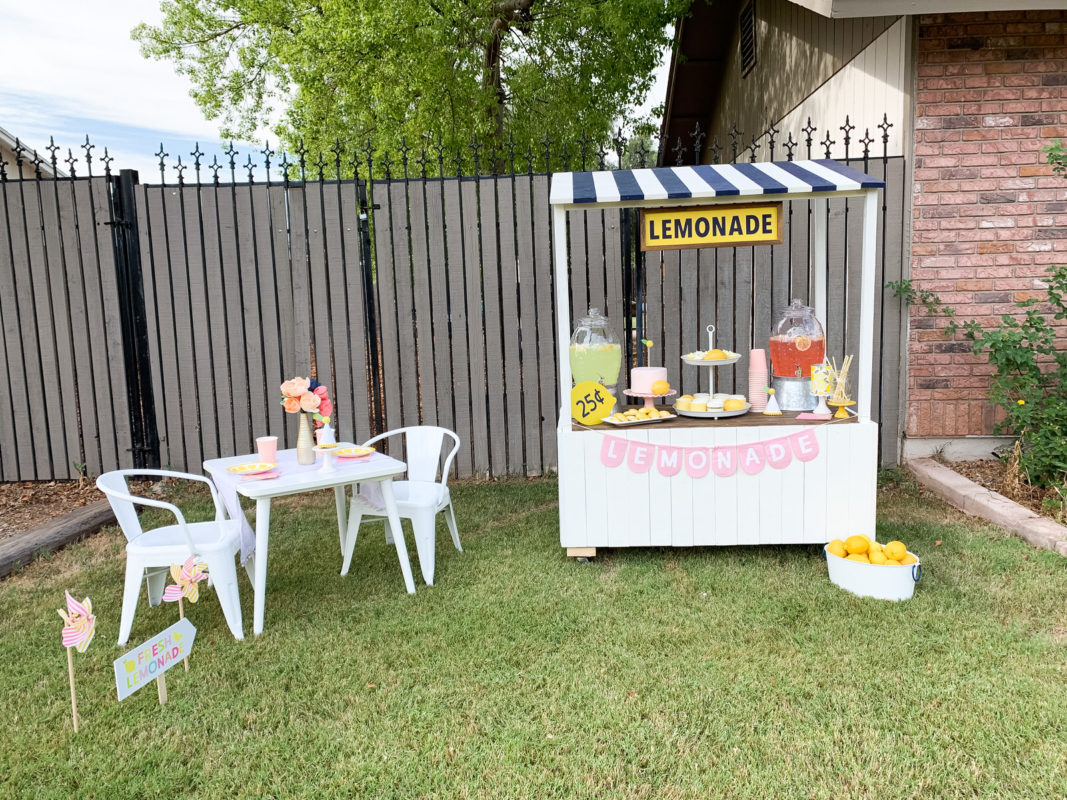
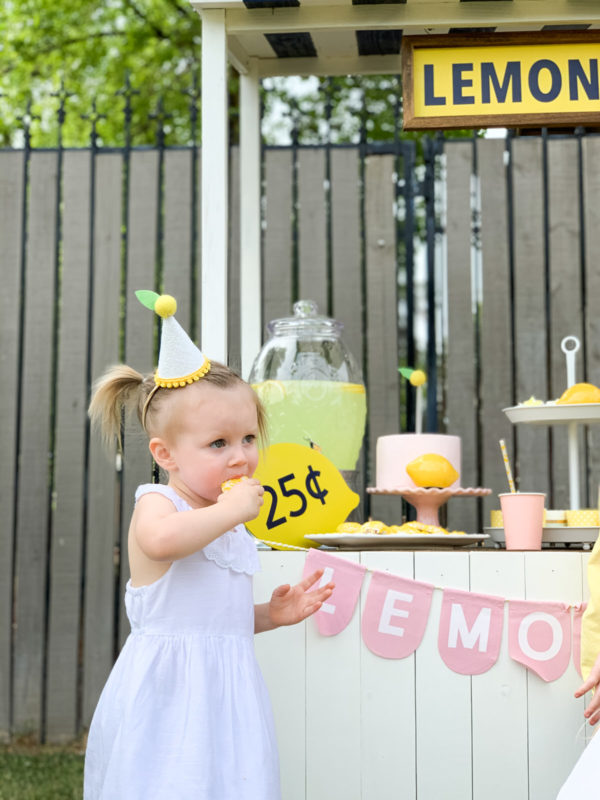
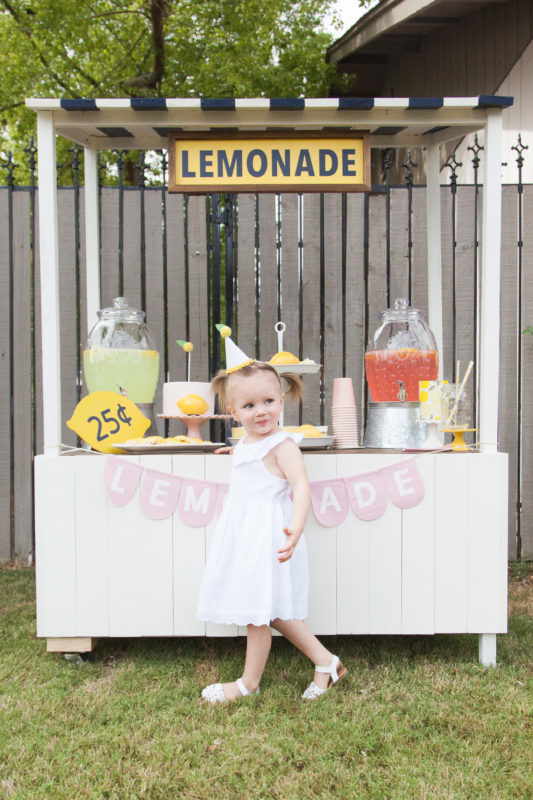
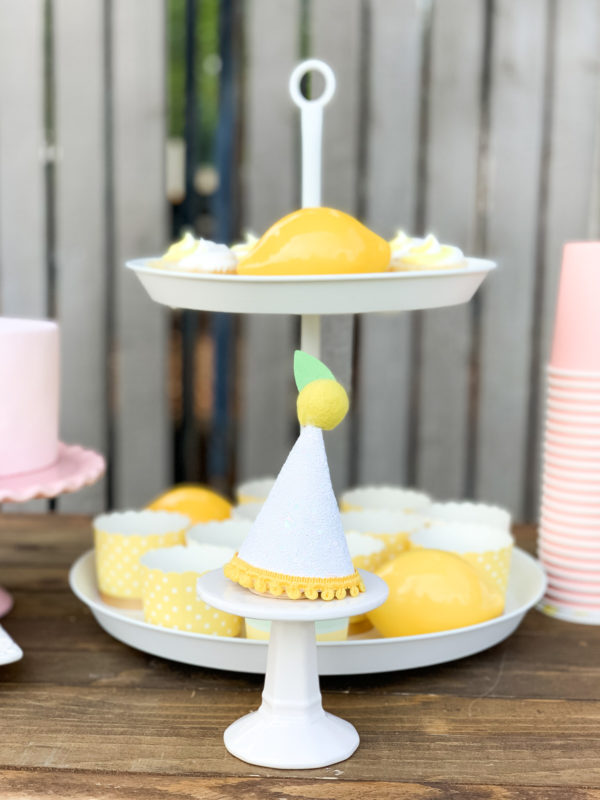
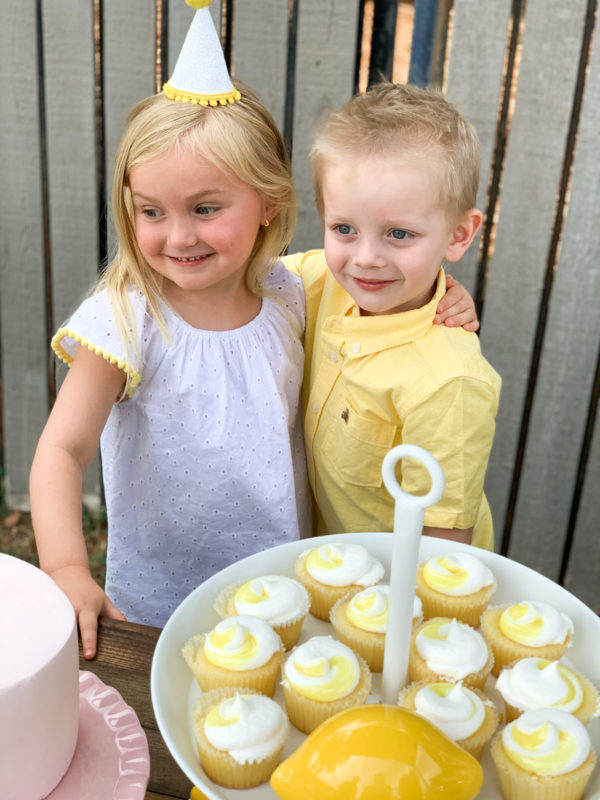
I have a legit problem collecting props and paper goods for themes I have in my head. I bought many of the props pictured several years ago in the Target Dollar spot. The little lemonade party hats were made by yours truly using my Cricut Maker. Check out some other custom hats I’ve made for my daughter’s 2nd Birthday, my son’s 4th paw patrol birthday and our doggy Desi’s 10th birthday shoot!
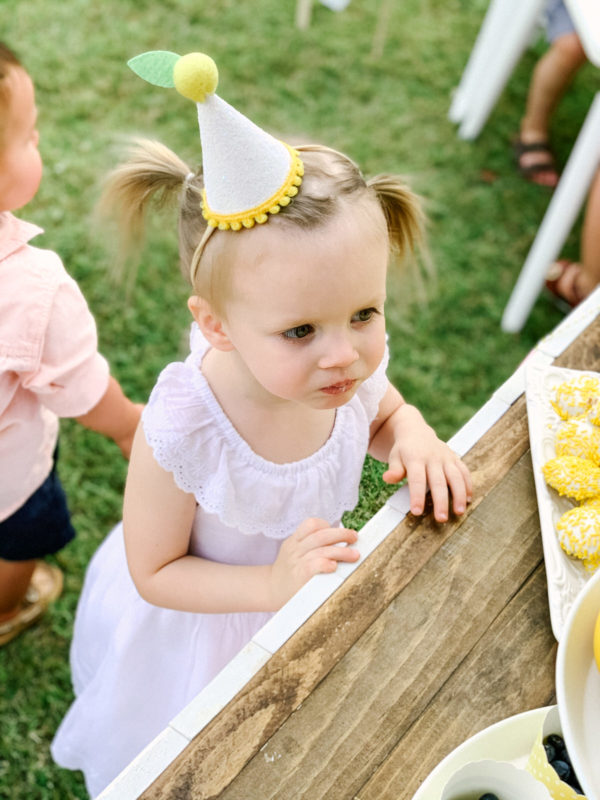
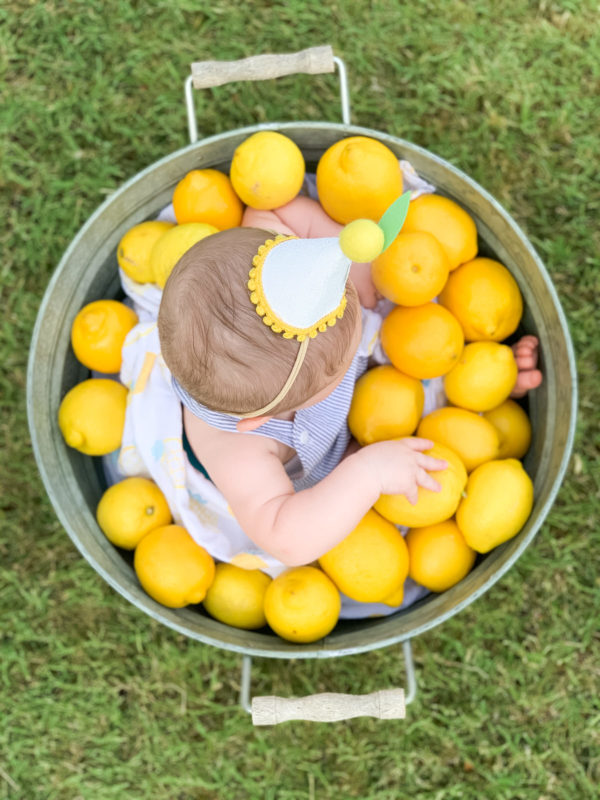
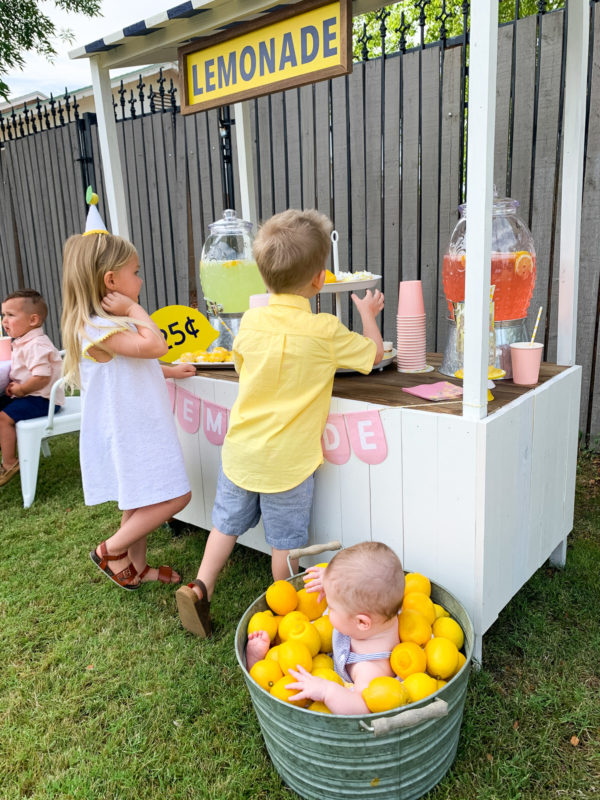
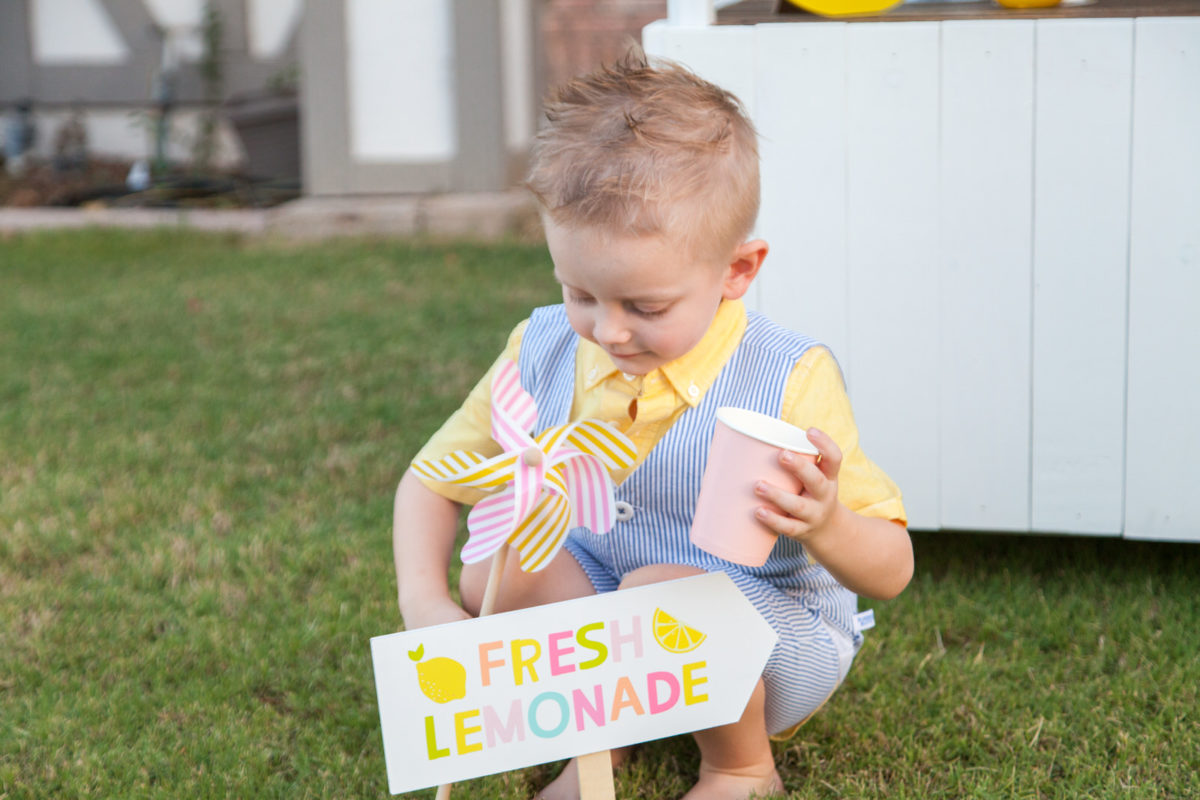
Naturally, I asked my bestie to bring her babes over to have a “lemonade party” with us and the kids absolutely loved it! When my little sis came to town we busted the stand back out for another fun shoot!
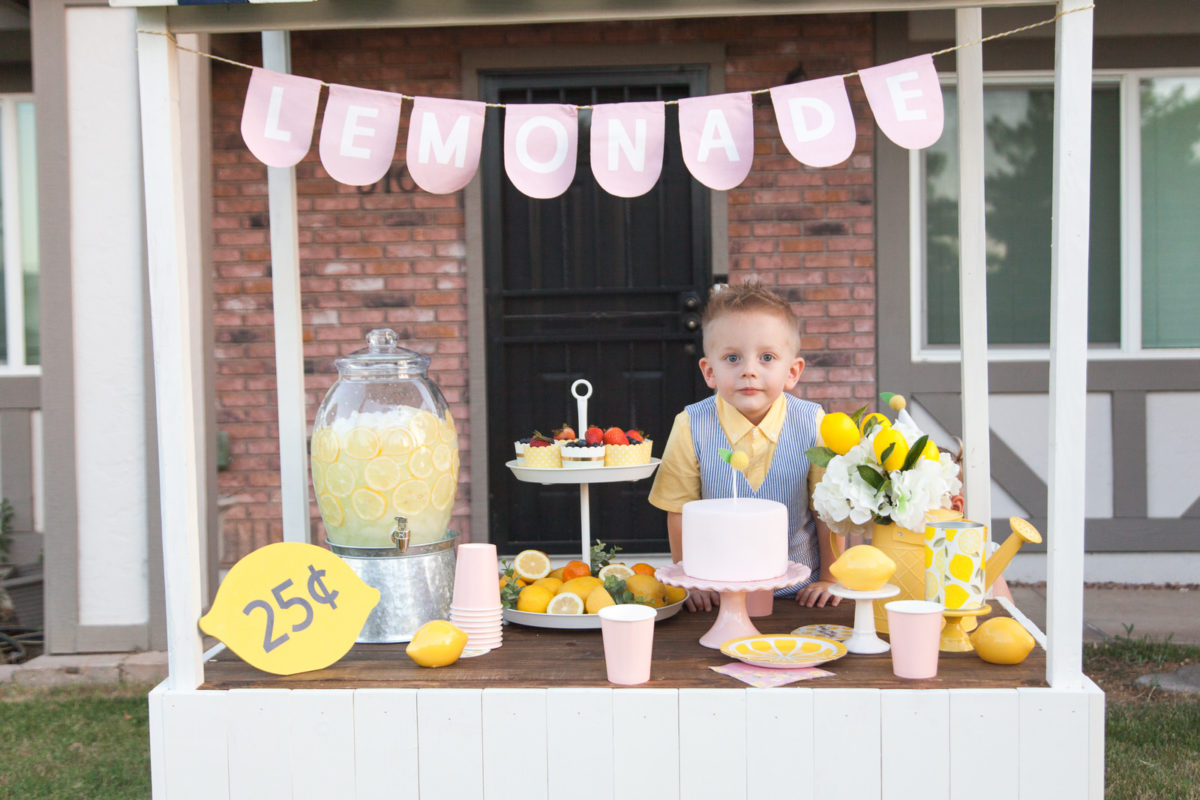
I’m excited to share the various ways I’ll be stying this stand for holidays, photo-ops, and parties!
Questions? Drop them in the comments below!

You guys did an awesome job on your stand. This is how family memories are made. Never stop challenging yourselves. The sky is the limit
Thank you Gary!! Taylor is quite handy to have around! Hope you’re making lots of memories with those cute grand kids of yours!