

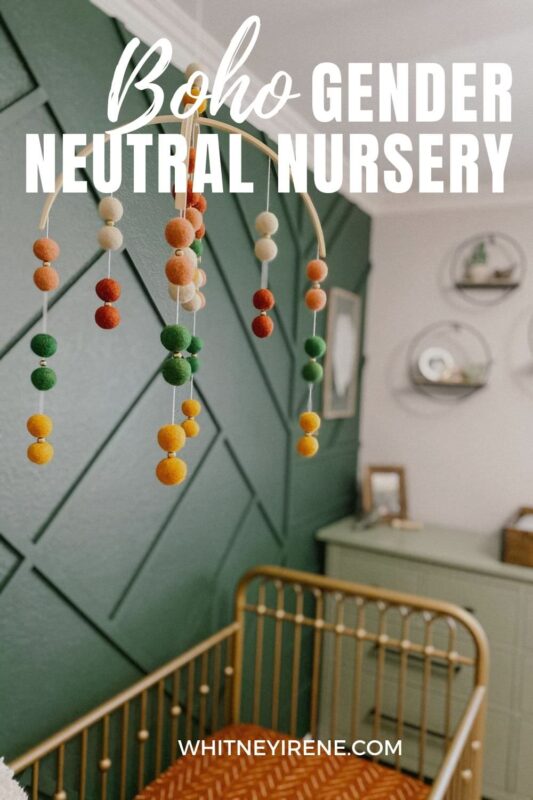
Baby Skye’s Gender-Neutral Nursery
This post contains affiliate links for your shopping convenience. Click here to read my full disclosure policy.
When we found out we were expecting baby # 3 I had an out of character moment and decided I wanted to keep the gender a surprise until birth. I also had Gender-Neutral Nursery ideas spinning around my head. It’s super not my jam to be surprised but since we already have a boy and a girl I thought “Heck, I think I can do it.”
Team Green – Gender-Neutral Nursery
I love a good nursery design, if you haven’t seen them be sure to check out my big kiddos nursery reveals – Tatum’s TeePee Tribal Inspired Nursery & Kennedy’s Spotty Chic Nursery. One thing I always consider when designing a nursery aesthetic is the longevity aspect. Will it transition well to a big kid room? Could it be a guest room in the future?
Gender Neutral Nursery Colors
I began pulling inspo and colors for our Gender-Neutral Nursery – check out our Gender-Neutral Nursery Color Pallet.
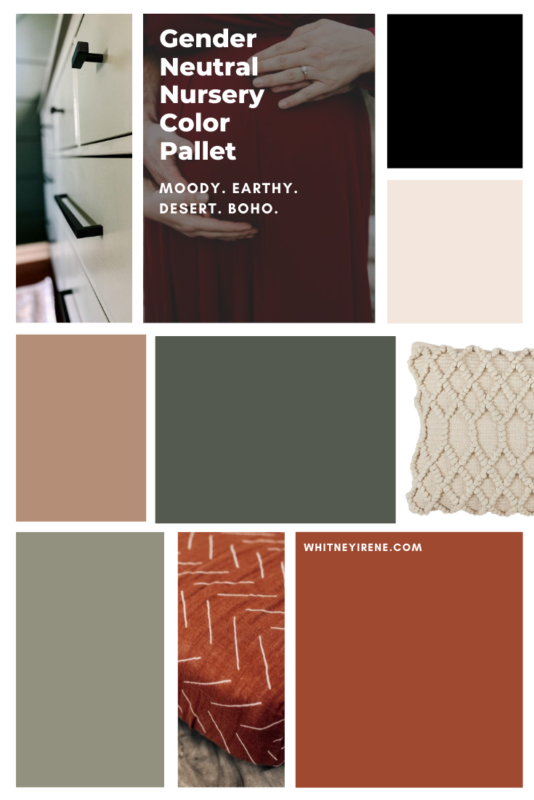
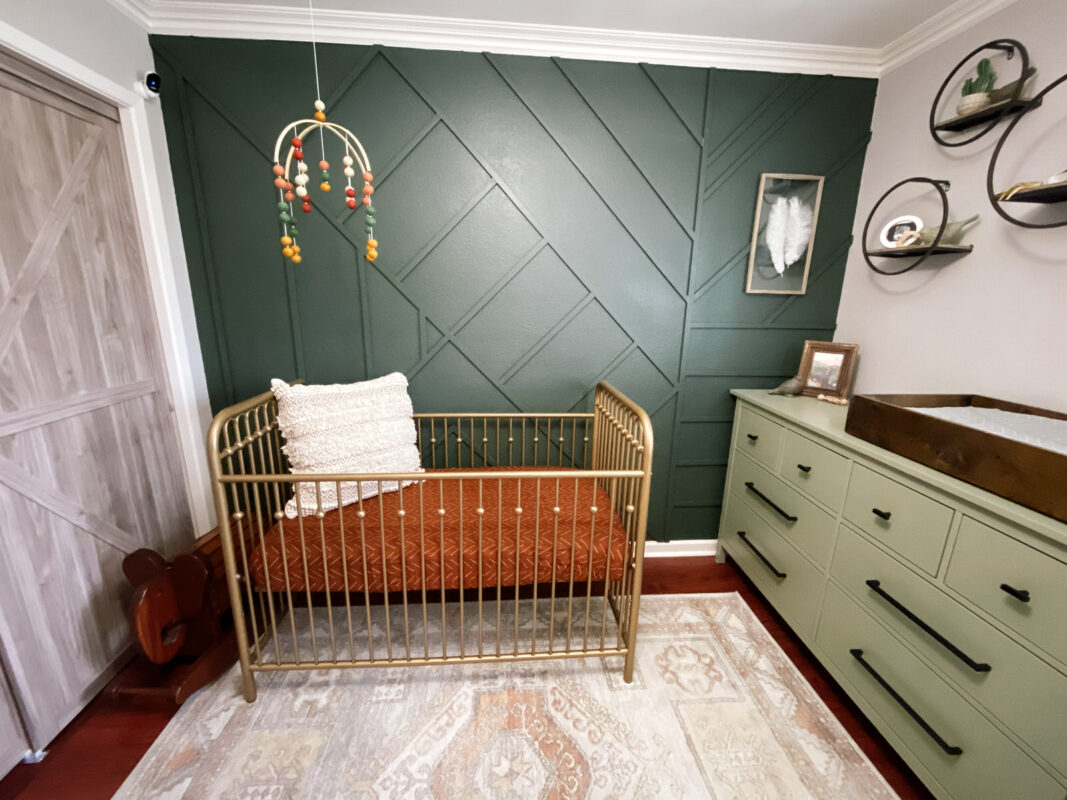
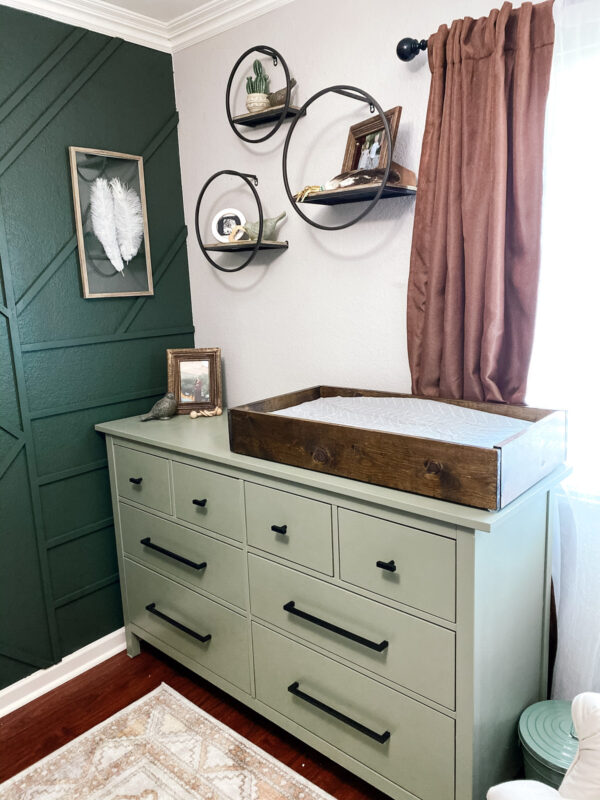
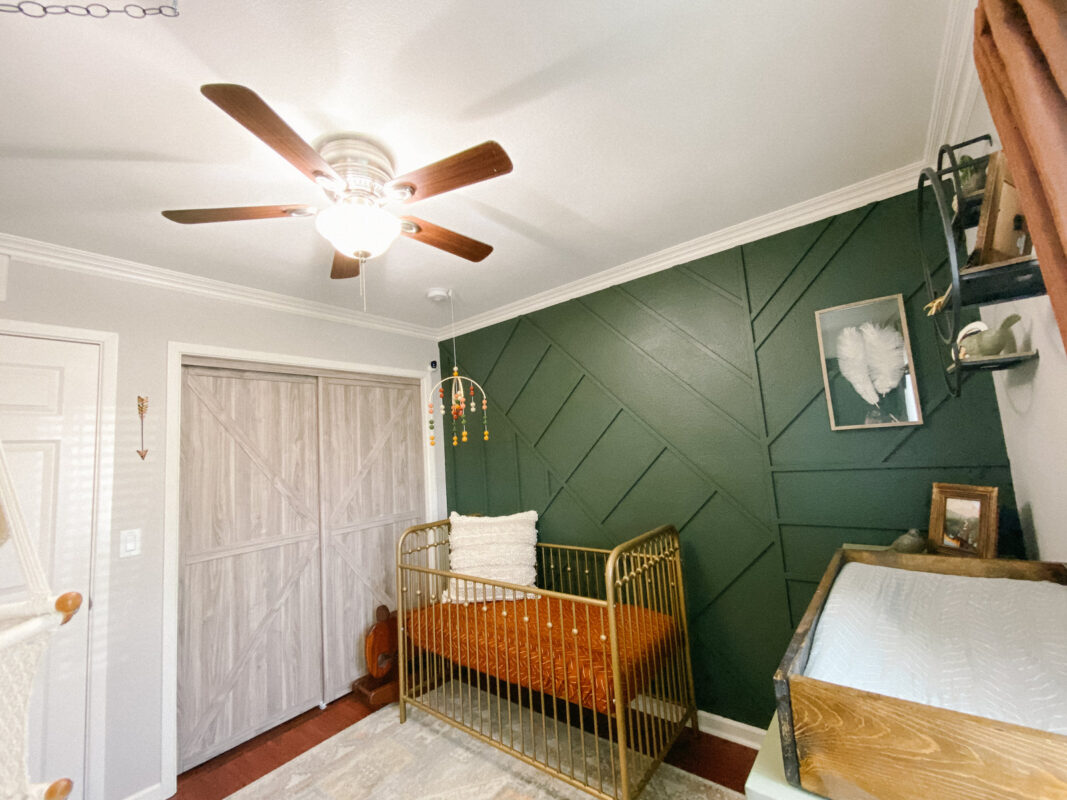
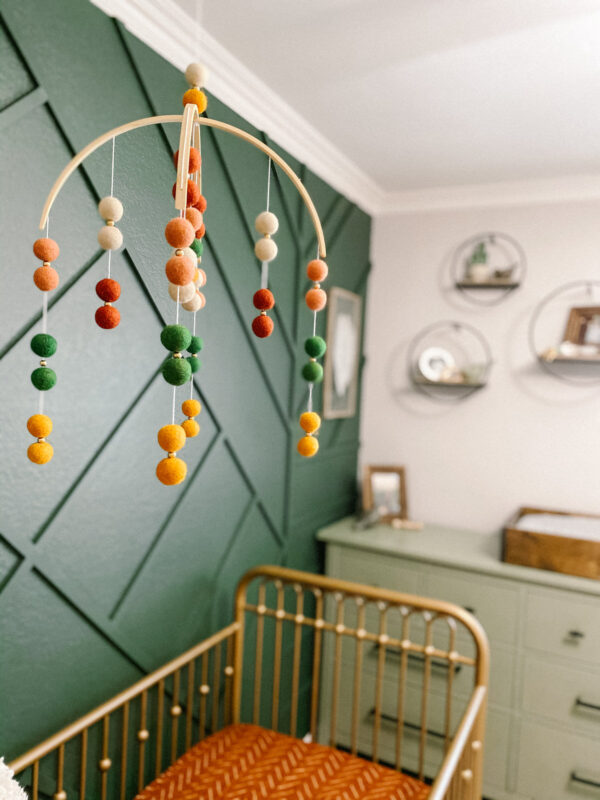
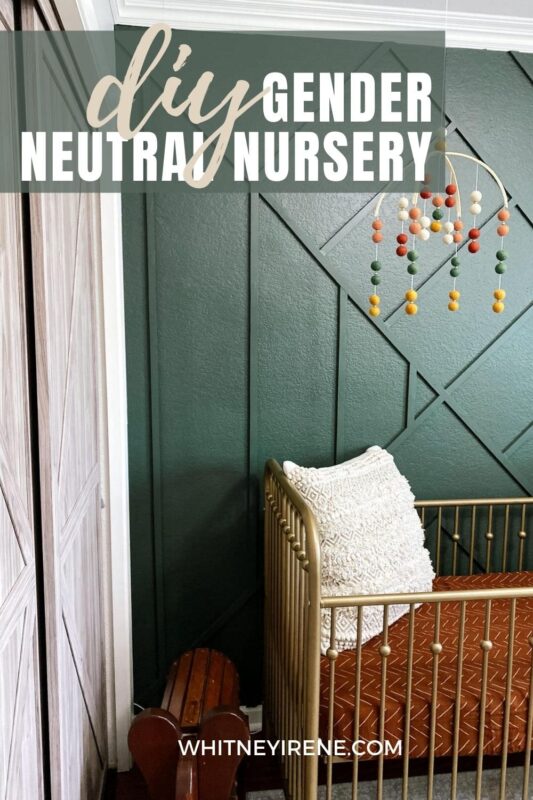
For our accent wall we chose Behr North Woods N410-7
I wanted to balance out the dark green with a lighter color and we chose Behr Muted Sage N350-5 for the dresser remodel.
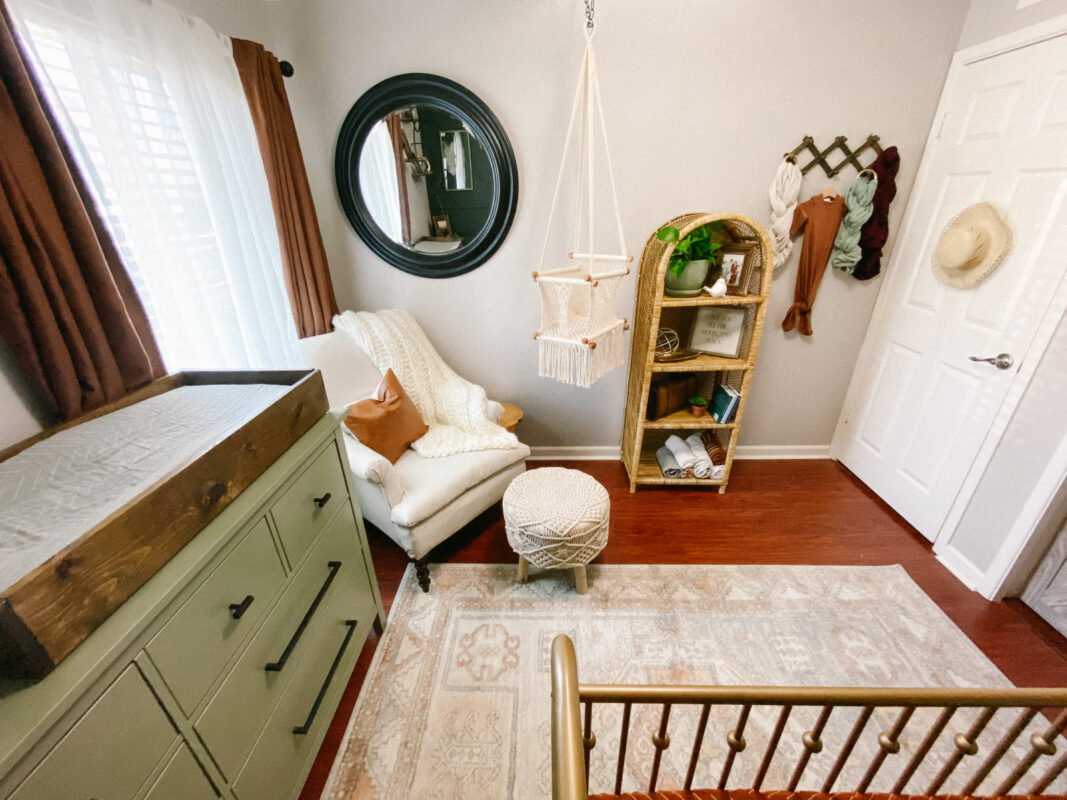
I tied in a mixture of earthy neutrals with our rust crib sheet & curtains, macrame swing and ottoman, wicker shelf and more.
The Projects
My husband, Taylor, and I love to take on a good DIY project (or 10 at a time ha.) As our family grows our free time for projects shrinks so having the proper tools and equipment to be able to work SMARTER not harder is invaluable. Right before we kicked off the projects for our gender-neutral nursery we got the FLEXiO 4000 Paint Sprayer from Wagner…two words GAME CHANGER.
I think Taylor and likely most all men, hate painting more than any other aspect of projects. Now that we have our Wagner FLEXio Sprayer Taylor is literally volunteering himself to paint things!
Accent Wall
I wont do a full tutorial on our deep green geometric accent wall because the incredible blogger who I drew my inspiration from already has great advice on accomplishing this look.
Check out Within The Grove and her gorgeous accent wall here.
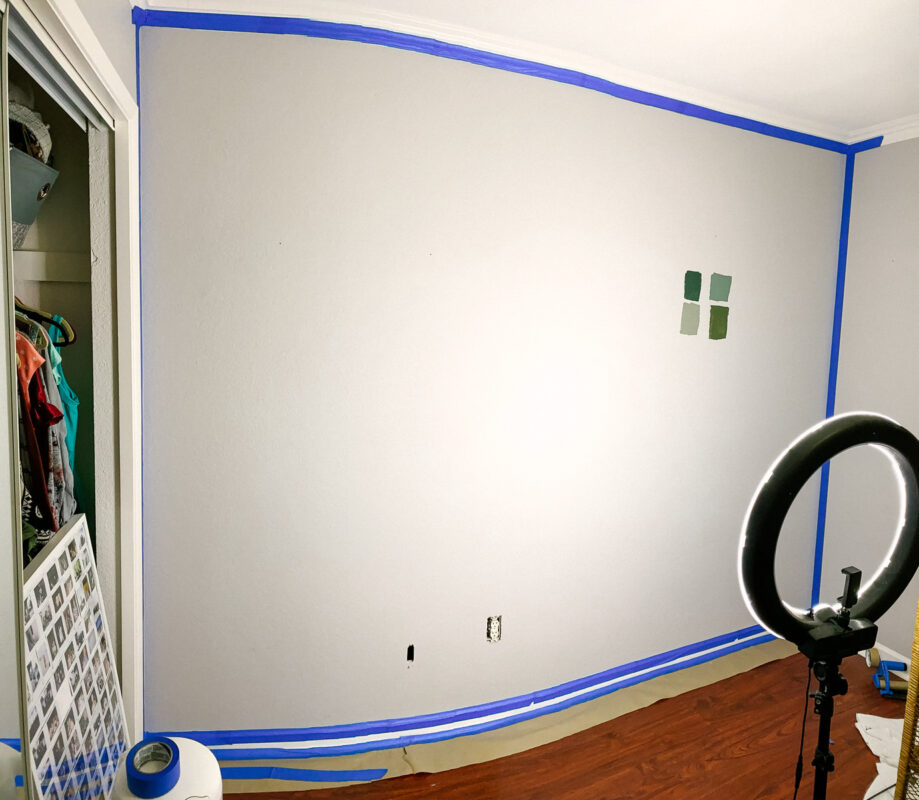
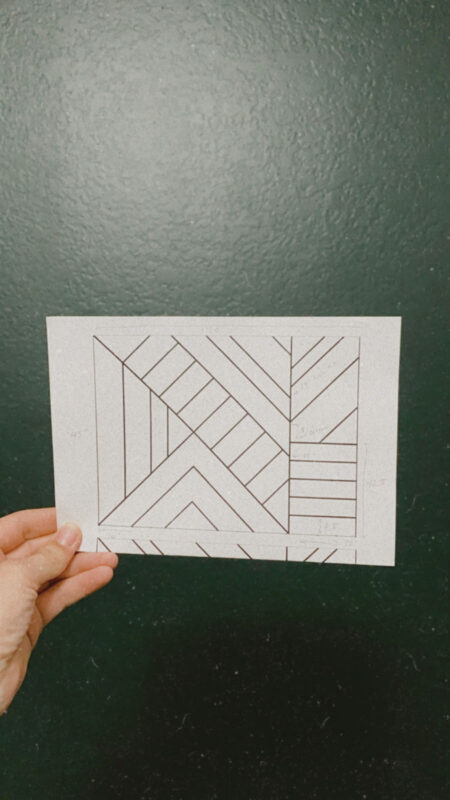
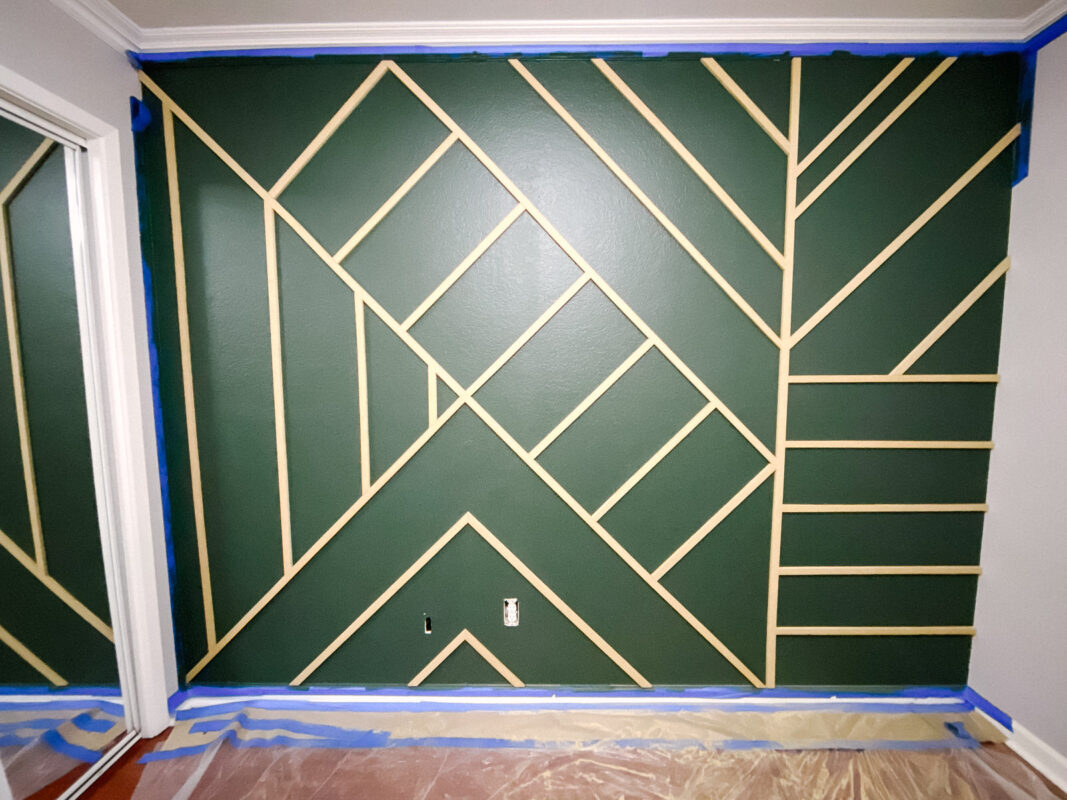
However, here is a digital journal of how we accomplished this wall
My brother who is a graphic designer and tattoo artist mocked up a design that was a hybrid of a few walls I found on Pinterest and was able to give us dimensions to scale using Adobe Illustrator.
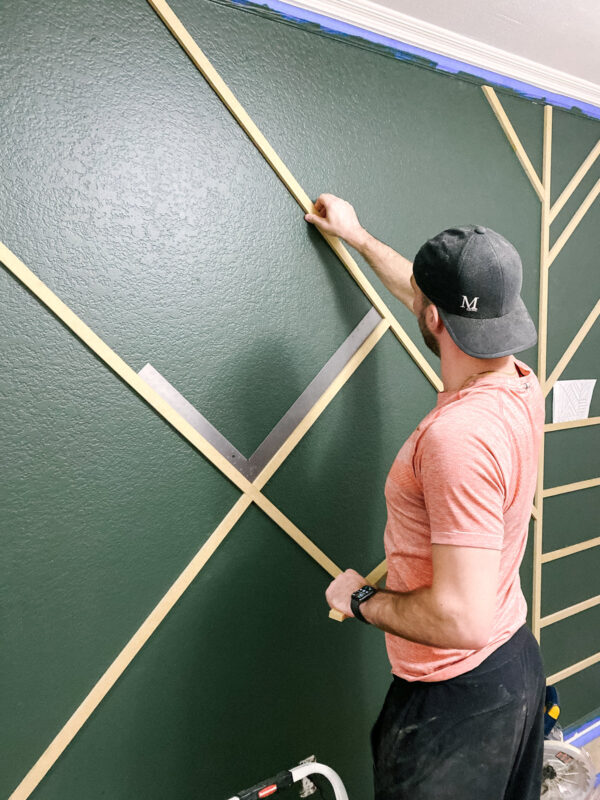
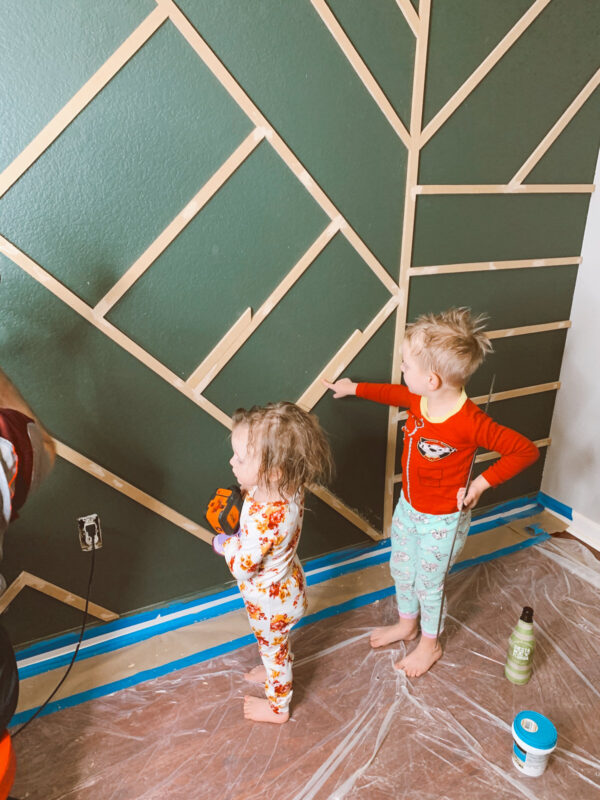
First we applied two coats of paint to the entire wall, then cut and attached the MDF board to the wall with a nail gun in the desired pattern. We then used our Wagner Spray Tech Detail Finish Nozzle to spray the boards and did one additional coat using the iSpray® Nozzle to do a finishing layer over the entire wall.
Taylor and I take on quite a few DIY projects and have “lived and learned” some things along the way. One thing we now know and will openly share is that we certainly wish we had gotten a paint sprayer sooner. We gave our kitchen a facelift, check it out here, and boy do I wish I could travel back in time and spray those cabinets instead of painting them by hand. Our Flexio 4000 is known to be 10X faster than a brush!
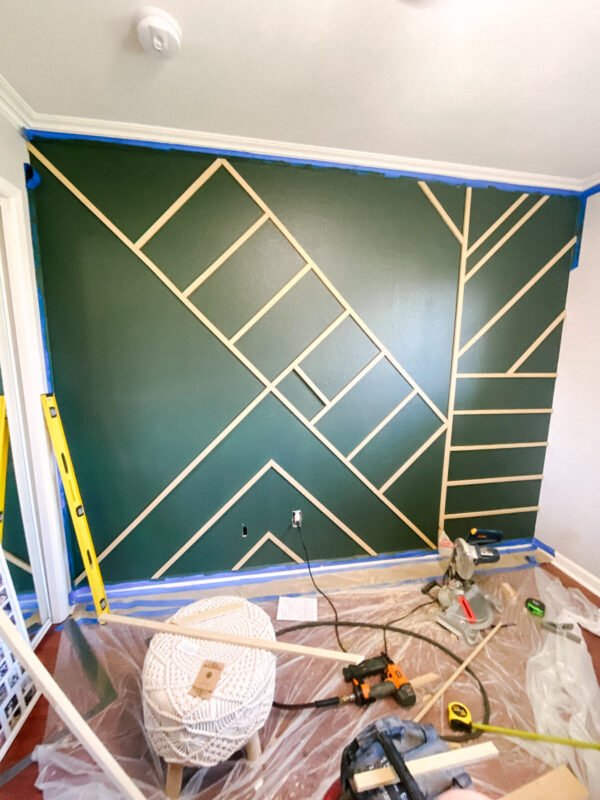
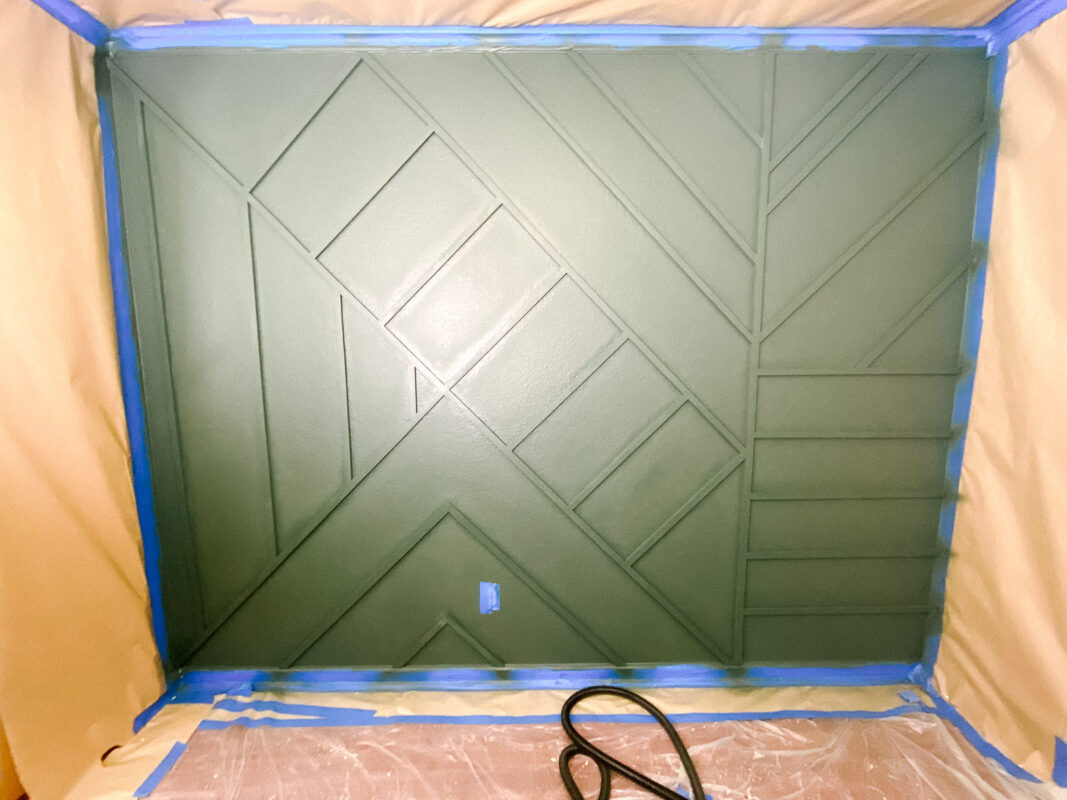
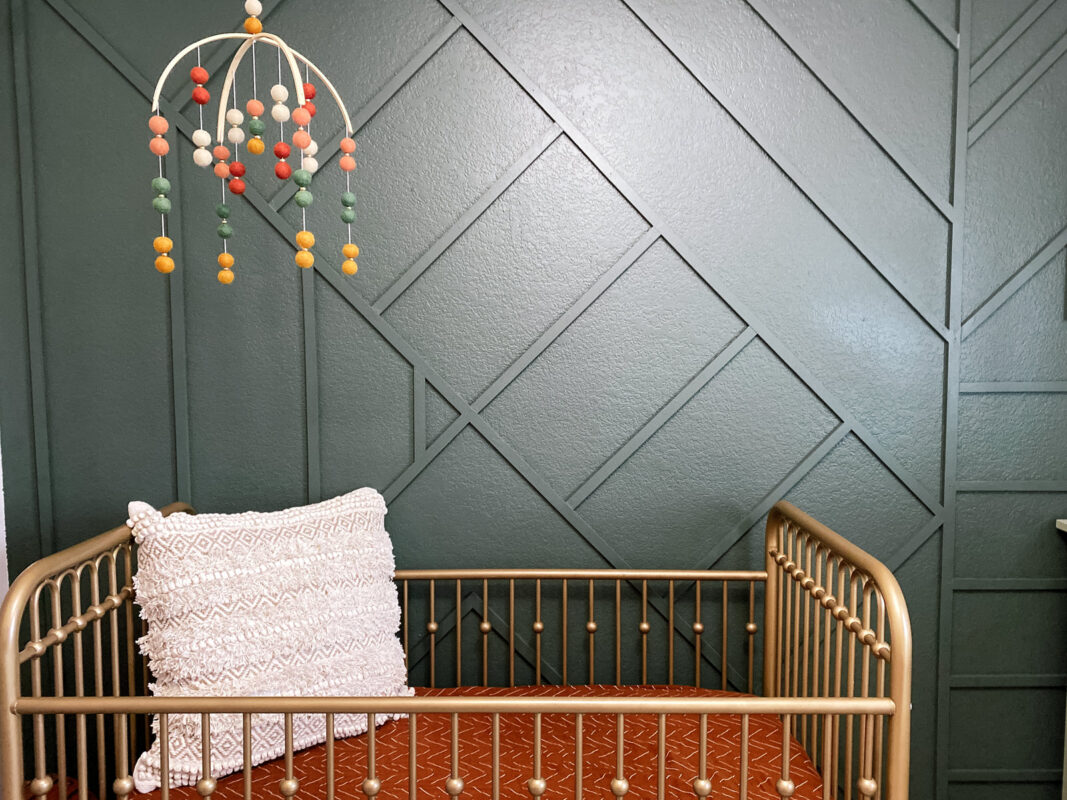
All in all I am so pleased with this DIY geometric accent wall, It truly transformed the space and set the tone for the whole vibe in the nursery.
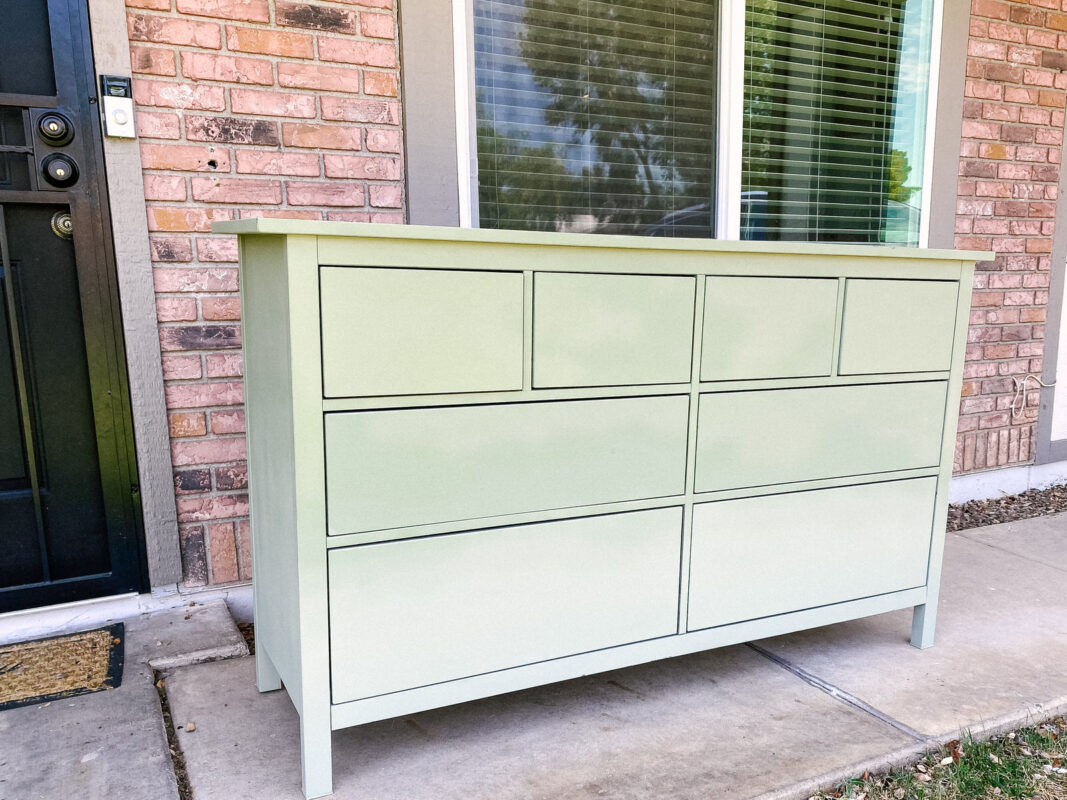
Ikea Dresser Makeover
I love a good Ikea hack as much as the next DIYer but I also knew we had many many projects to accomplish to get my vision for this nursery off the ground. So I wanted to go with something simple.
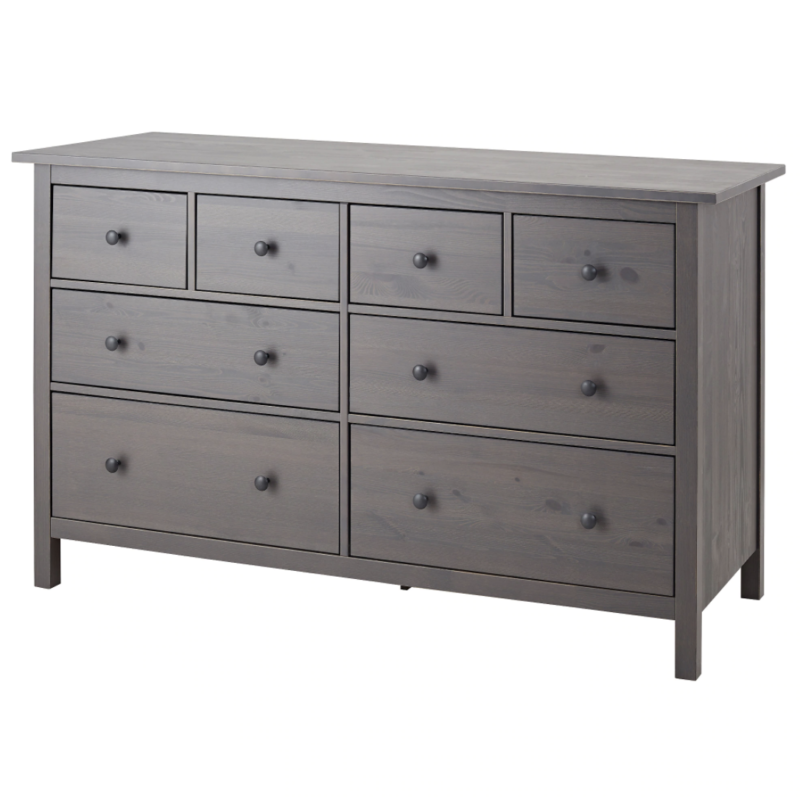
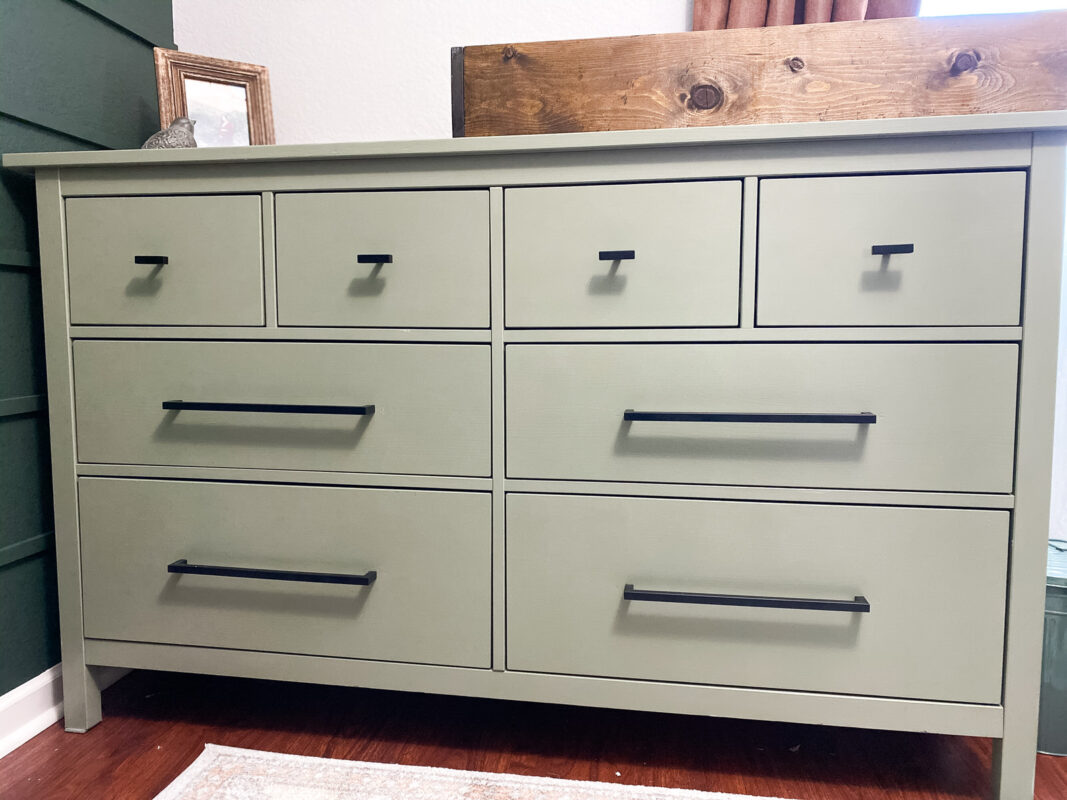
We took this Ikea HEMNES dresser that we bought off a friend (hey-yo- didnt have to assemble this beast) gave it a pretty paint job and some new pulls and wow was she a whole new lady! We have this same dresser in my daughter Kennedy’s room, we painted and swapped the knobs on it as well so we knew we liked the storage, height, and overall look.
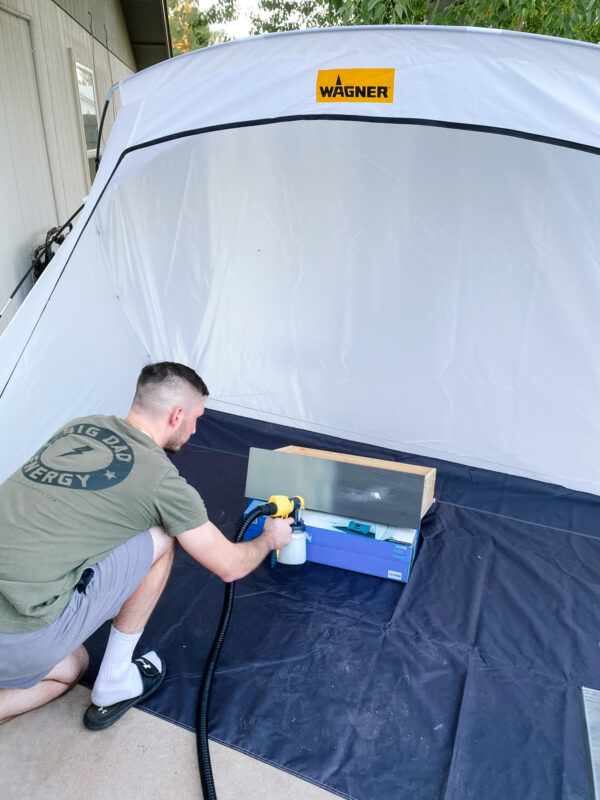
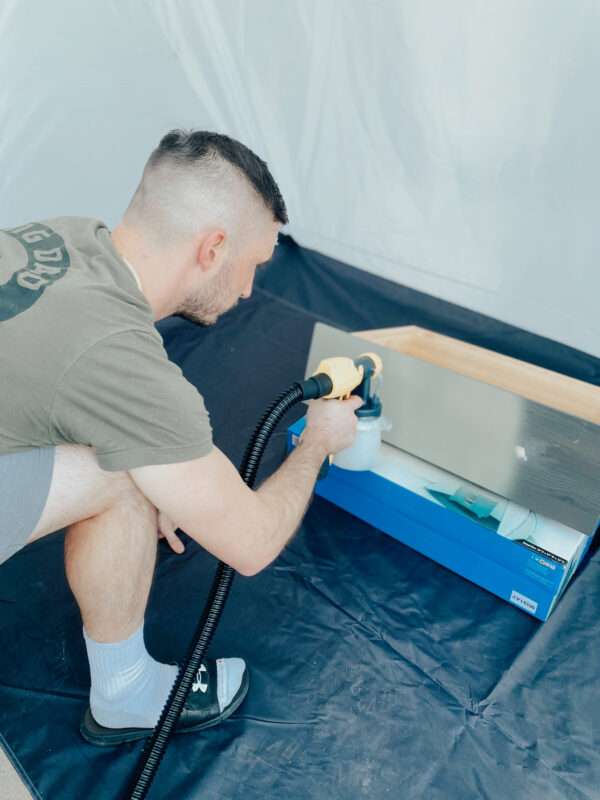
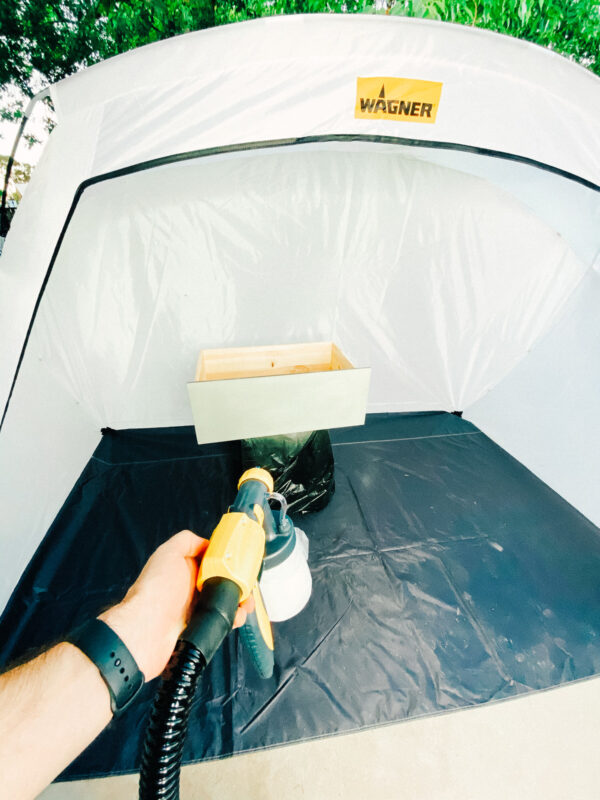
Once again we used our FLEXiO 4000 Paint Sprayer from Wagner and the Studio Spray Tent (praise hands for way less cleanup!) and transformed this dresser at record speeds. (By we I mean my husband, as I just supervised ha) We then sealed the whole thing with polyurethane!
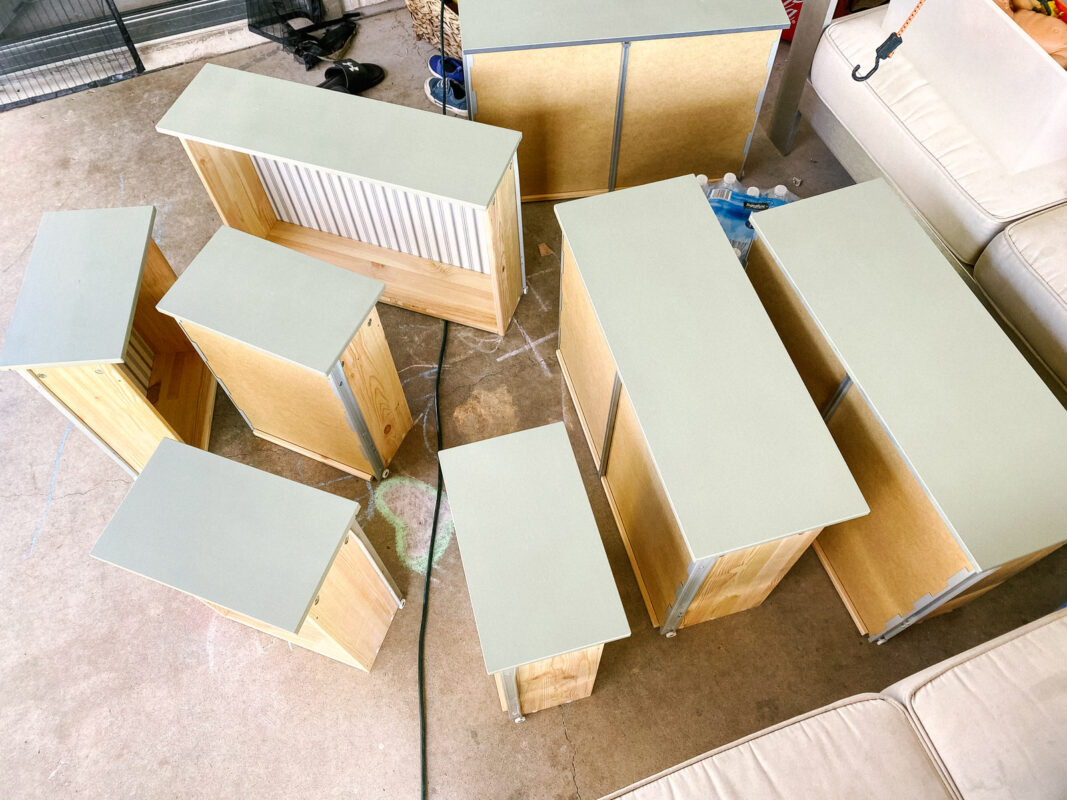
For paint, I chose Muted Sage by Behr … gahh its such a dreamy color, and the matte black pulls really pop on the sage.
Closet Doors
Prior to this becoming baby 3’s room it was our guest room and then the “catch-all’ room before that. We had never put much thought into this space until now. The closet doors in this space were rickety mirror doors and I just knew they would detract from the overall look.
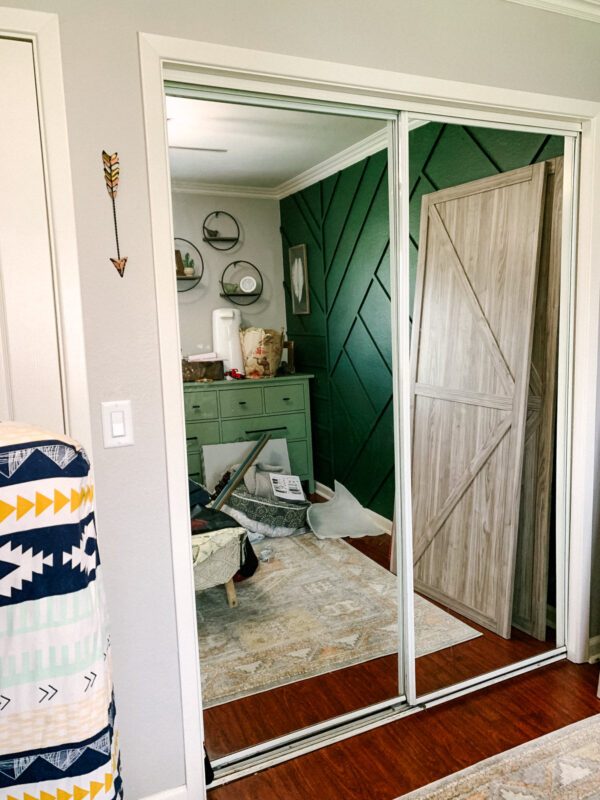
I had my eye on these Silver Oak sliding bypass doors from Renin.
If you haven’t seen our Kitchen Nook Makeover featuring the gorgeous barn door by Renin check it out here.
Not only were these doors easy to install they instantly changed the overall look and feel of this room. I love how lightweight they are and how easy they glide. Now I just need to organize everything behind them 😉
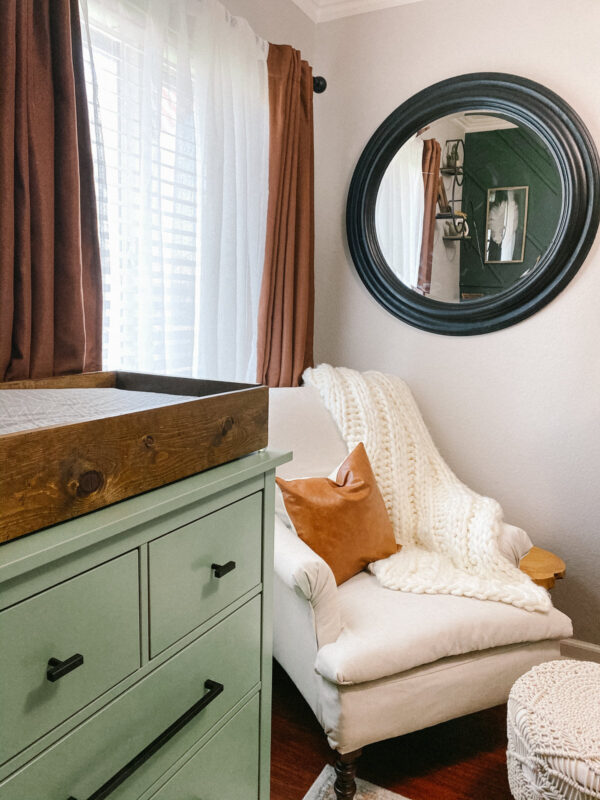
Goodwill Mirror Makeover
I had my heart set on a large round mirror however everything I liked was pretty pricey. Then I remembered I had a mirror from Goodwill that used to be in our condo stored in our garage.

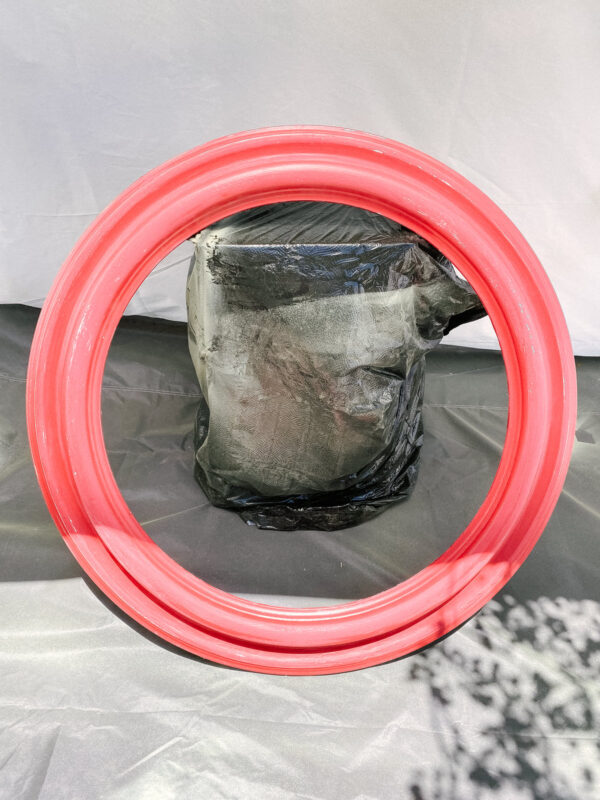
We used our Wagner Spray Tech to paint it black and our $6 mirror was like new! I’m so glad I didn’t drop a load of cash on a mirror. Pro tip: a lot of thrift stores have 1 day a month that they have big discounts, Goodwill of AZ has 50% off Saturdays!
Reupholstered Chair
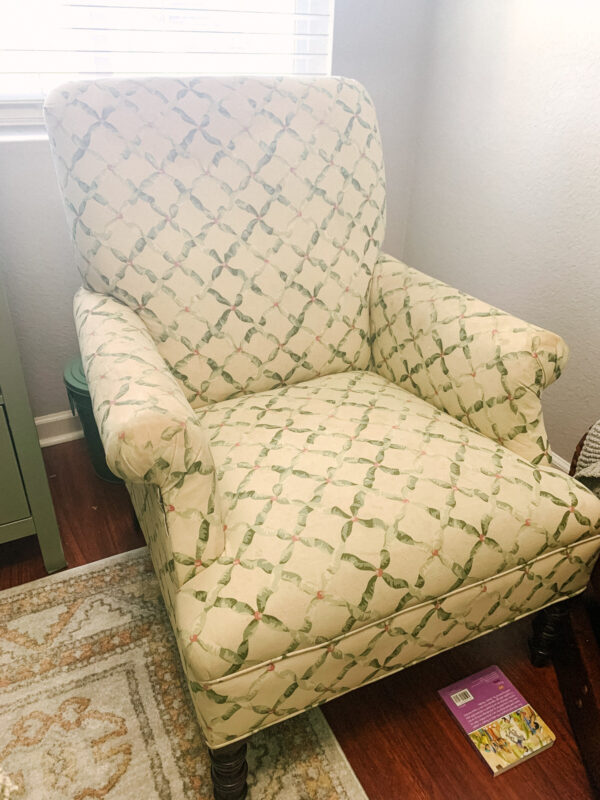
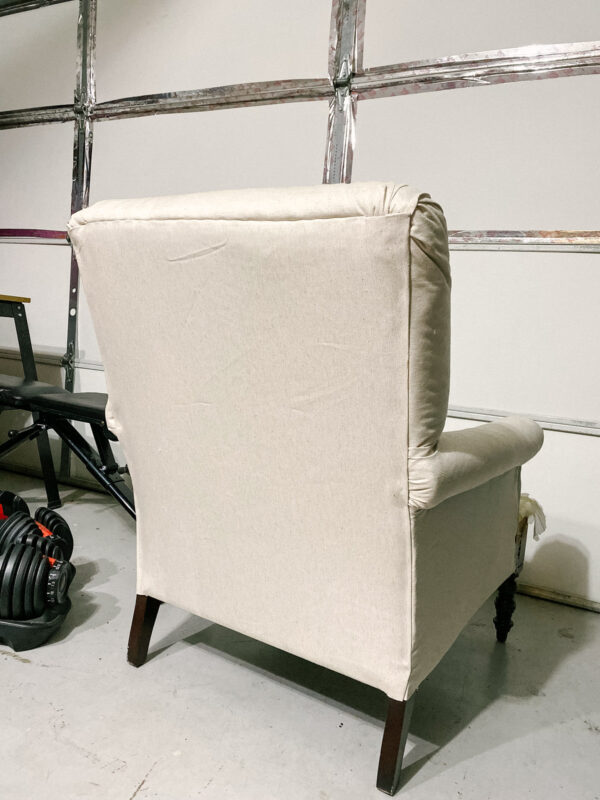
My in-laws gave us this chair that was dated but oh-so-comfy. It had great bones and I’ve been wanting to reupholster it for such a long time. I was pretty nervous to take this on as I’ve never reupholstered anything before. Because I don’t have a ton of experience in this I wont be sharing an actual tutorial but I will share some steps/ takeaways.
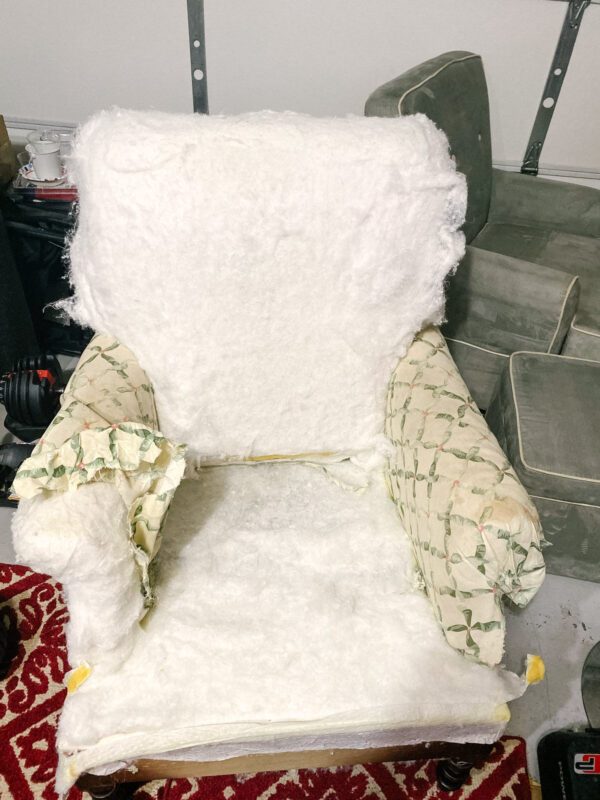
- REMOVE THE FABRIC (aka millions of staples) – I wanted to save the old fabric to use as a pattern so I bought a staple remover and did my best to remove the fabric keeping it as intact as possible. Holy moly did I underestimate the number of staples that were holding this chair together. It took hours and hours to remove the original fabric from the chair.
- MAKE A PATTERN – Once all of the fabric was removed I layed the pieces flat onto our new fabric and traced around it leaving about 2-3 inches extra around the perimeter just in case and then I cut it out.
* I chose a tan fabric from the upholstery section of Hobby lobby…my taste is a little better than my budget so I ended up selecting some in the sale section that had a silver shimmer and just using the backside of it instead… saved me about $15/yard! - TIME TO UPHOLSTER – I was nervous for this step, luckily all the batting and cushions were in great shape so we didn’t need to do much to those other than just remember where everything went.
Supplies we used for this step: - Staple Gun
- Scissors
- Glue (we used fabric glue & gorilla glue in some sections)
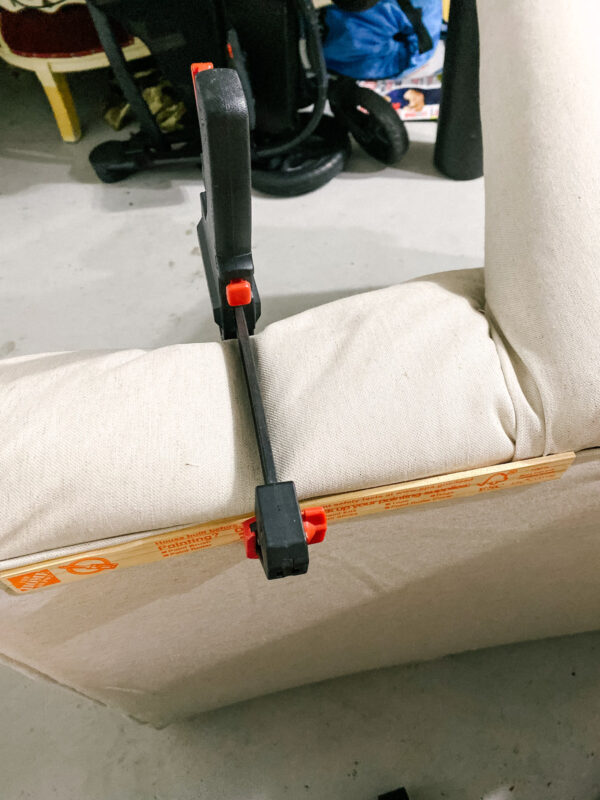
- Clamps
- Stick Pins
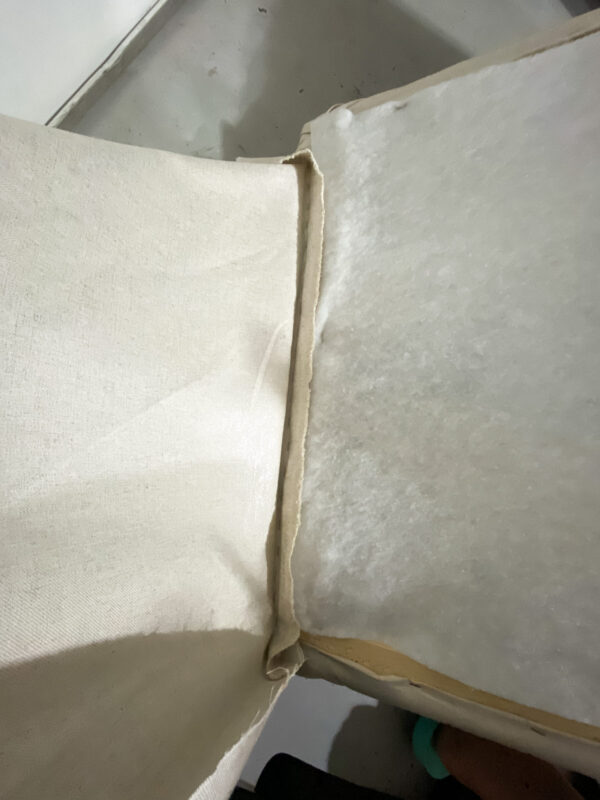
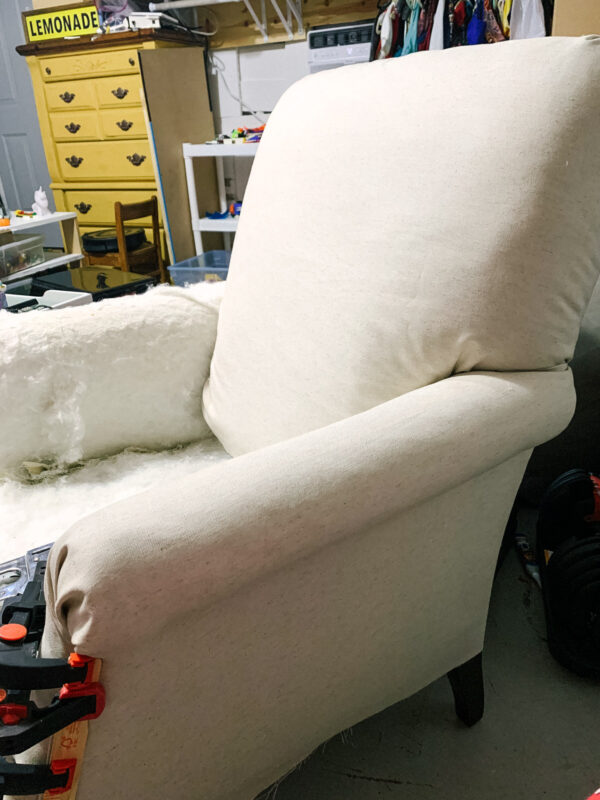
Adding the fabric back on was a two person job for sure, I folded each piece to make a makeshift seam and stretched in into place nice and tight and Taylor stapled it. In the spots where we knew it wouldnt be seen (under the chair or in sections where another section would overlap we just went for it and stapled.)
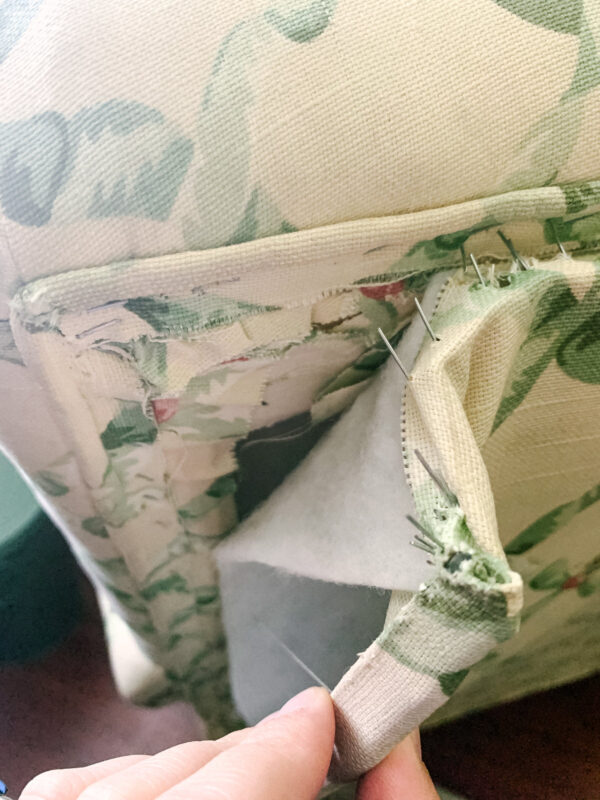
Where staples would be visible, we stapled some excess (like a seam and folded the fabric over (shown below)
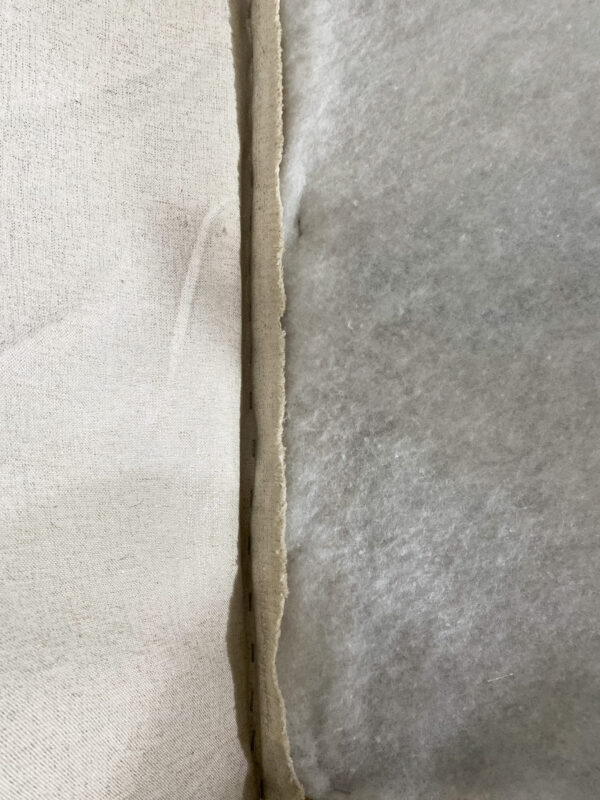
Some sections like the back of the chair where all the edges would be visible, we recommend stapling two edges using this method and then folding and gluing the other two sides as its a section that won’t be taking a lot of pressure. We used clamps to hold the glued sections in place while they dried.
For the cushion if I had sewing skills I would have recommended sewing a cover for this, but I dont so we glued the entire thing….(the cushion is all foam so we couldn’t staple this part) I used stick pins to hold the fabric in place while the glue dried. (not my finest work but I’ll chalk it up to my first time) One big takeaway was I should have cut a lot more fabric for this so it wasn’t as tight of a stretch. Someone also suggested (and I plan on trying on my next project) getting a small thin piece of wood for under the cushion, cutting the fabric big enough to wrap around the cushion & overlap onto the wood, allowing you a hard surface to staple the fabric to! So smart!
Overall I’m really happy with how this turned out, is it perfect? No gosh no. Was it a lot of work? Yes totally. Do I love how this chair looks in the nursery? Heck yes! And its super comfortable.
The Details
Some people love to have everything selected and collaged together prior to purchasing anything and some people enjoy the hunt of it all. I’m the latter.
My whole vision for this space started with the idea for the accent wall and then really started to come to life when our neighbor was tossing this wicker shelf out. #score

I tried to use as many things that we already had to keep this nursery spending to a minimum.
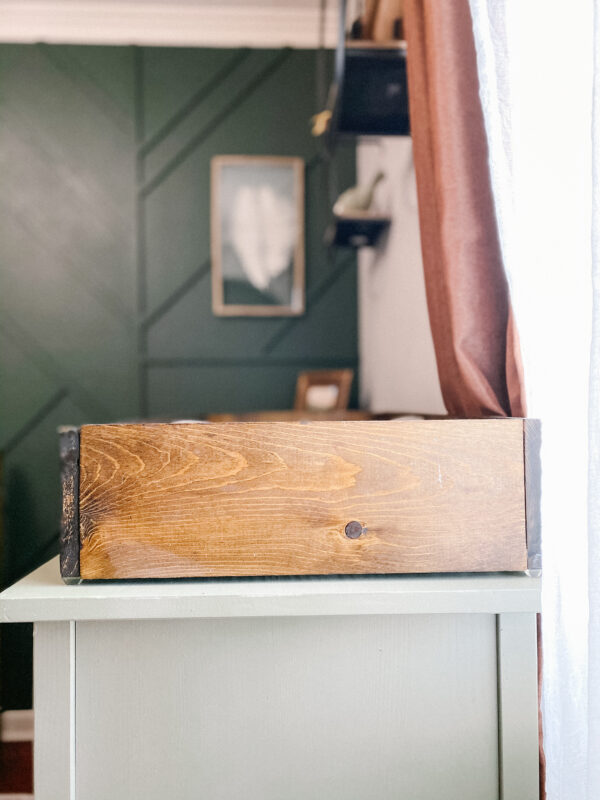
The gold crib was Kennedy’s – spot it in her nursery here. The Changing table box was a DIY project for Tate’s nursery. When baby is out of diapers we can just take it off the dresser!
I got the darling macrame swing brand new off a local photographer in the area selling some of her props and she had never used this!
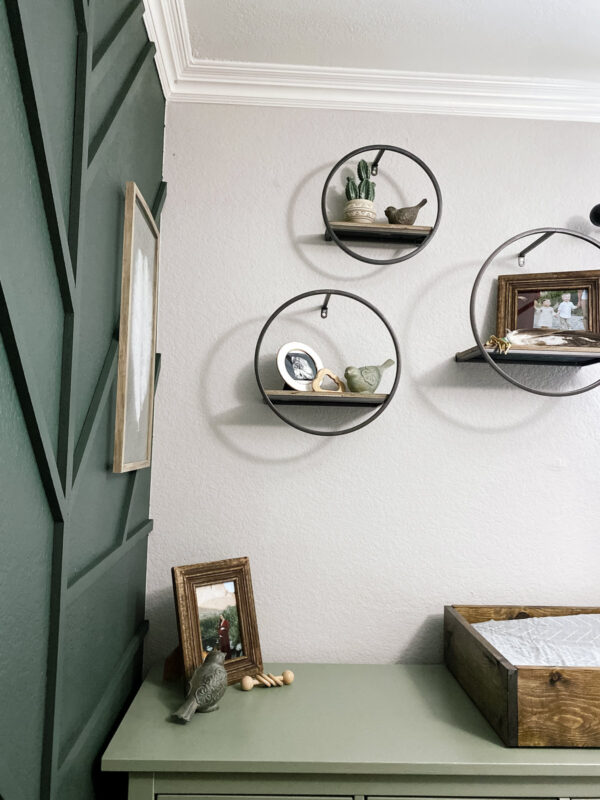
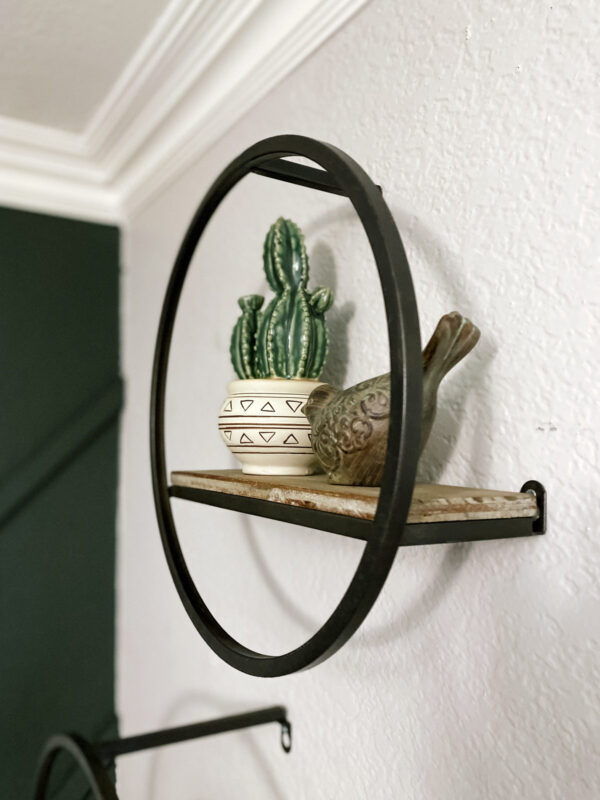
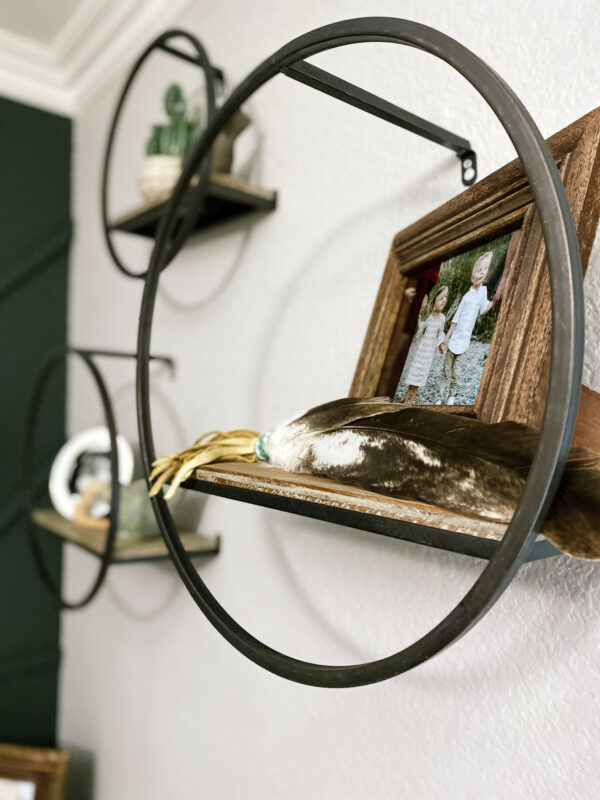
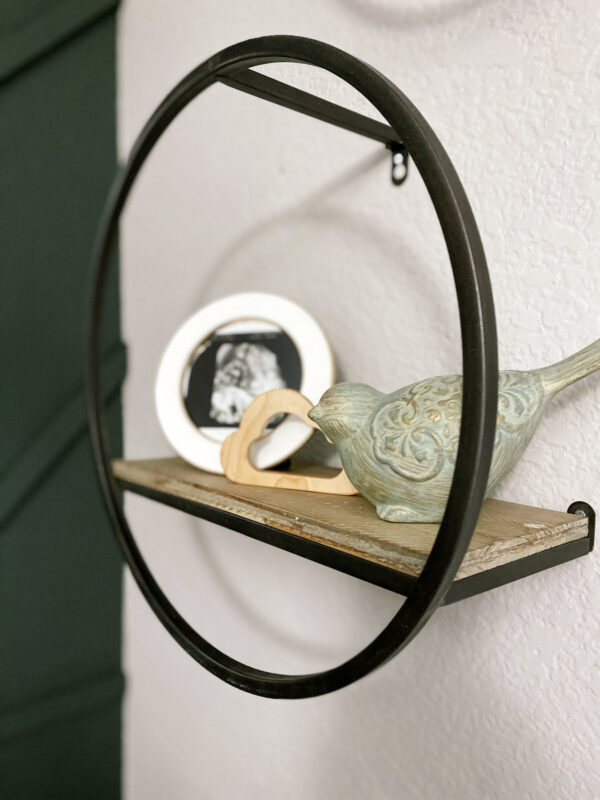
The ottomen, large cream pillow, feathers in frame, wood frames, and round shelves are all from Home Goods. Who doesn’t love a good Home Goods run?
My grandmother and grandfather beaded the Eagle Feather for baby, a special momento of our tribal culture.
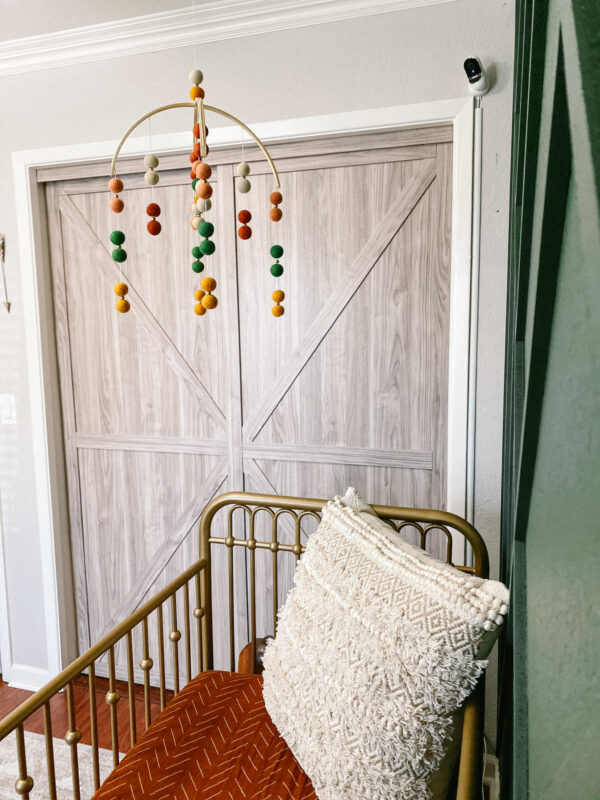
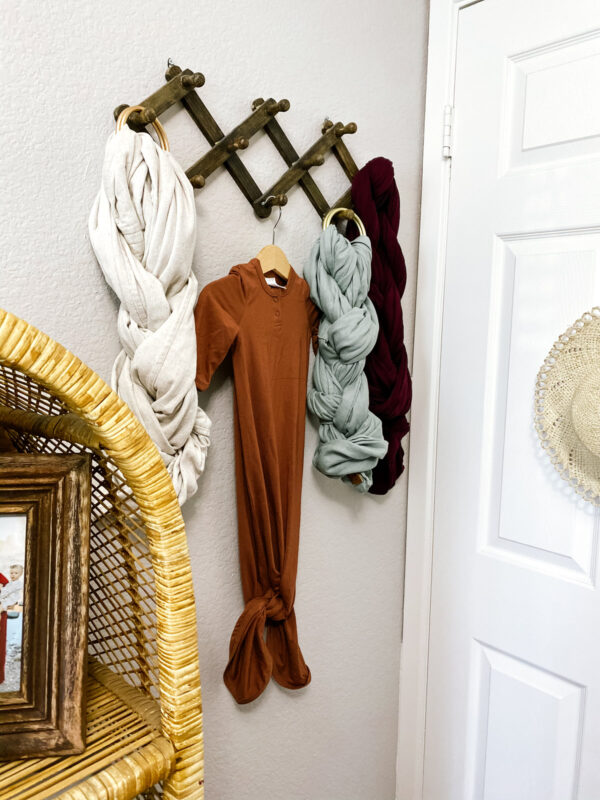
We stained the accordion wall hanger to hang my favorite baby wearing carriers. The mobile is custom made from a darling etsy shop and is the perfect finishing touch to the nursery!

Shop the look
Below I’ll link any items I can and/or similar items
Crib Sheets – Mebie
Faux Leather Pillow – Acorn Pillows || Similar Item Amazon
Large Cream Pillow – Similar Item Target
Mobile – ModernMax
Crib – Wayfair
Rug – Rugs USA
Dresser – Ikea
Pulls – Amazon
Knobs – Amazon
Swing – Amazon
Closet Doors – Renin
Shelves – Similar Item Amazon
Wicker Shelf – Similar Item Etsy
Ottomon – Similar item World Market
Mirror – Similar Item Target
Chair – Similar item Target
Plant – Home Depot
Moon & Back Sign – Similar Amazon
Rust Blackout Curtains – Loomwell (no longer carries) || Similar Item Target
I love this Boho room design! Do you have a pattern you used for the MDF design? I can scale it to my actual room, but it you did such a good job with it! Would you share please?